
1
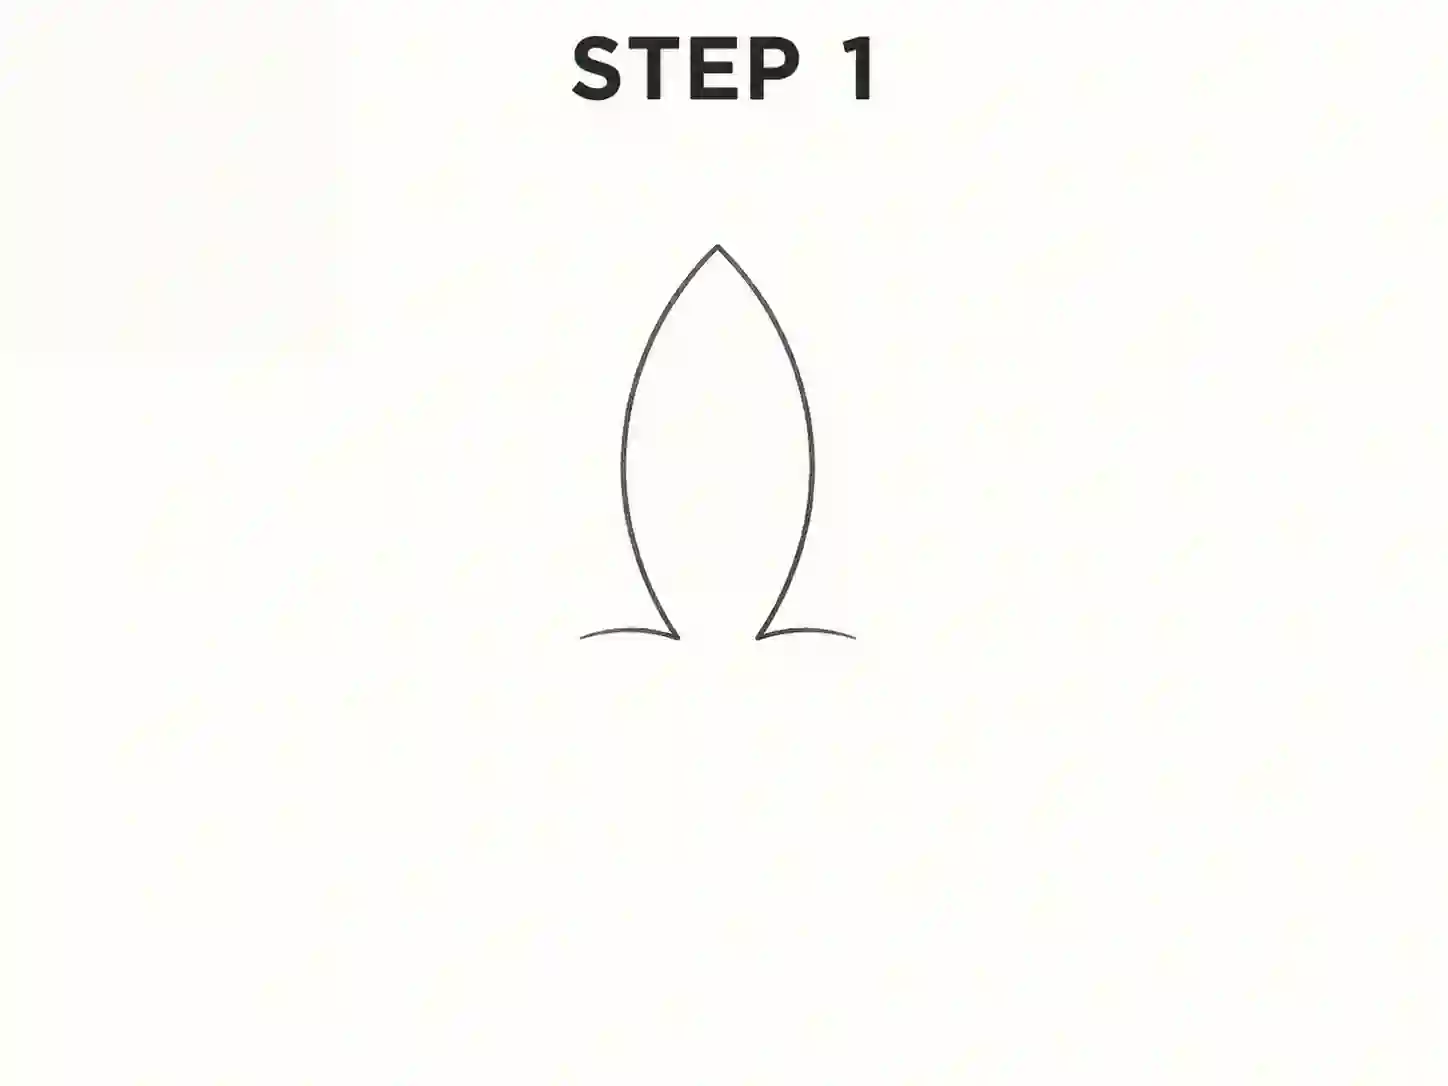
Step 1: Draw the Centre Guide
Start by sketching a small guide shape near the upper middle of the page. This will help position the flower centre and keep the lotus balanced. Keep this first part light and simple.
A lotus flower drawing is one of the most peaceful and elegant flower sketches for beginners. The petals are layered, symmetrical, and easy to build one step at a time, which makes this tutorial ideal for children, students, and anyone learning flower art at home.
In this guide, you will learn a simple drawing of lotus flower using a clean step-by-step method. We will start from the middle of the bloom, add the front petals, build the outer petal layers, and then complete the stem and leaves. By the end, you will have a balanced lotus that also works well as an outline drawing, pencil sketch, or coloured artwork.
If you want a lotus flower drawing easy tutorial that stays beginner-friendly while still looking neat and attractive, this lesson is made for you.
Beginners who want to practise more shapes can explore our flower drawing tutorials for other easy step-by-step flowers.
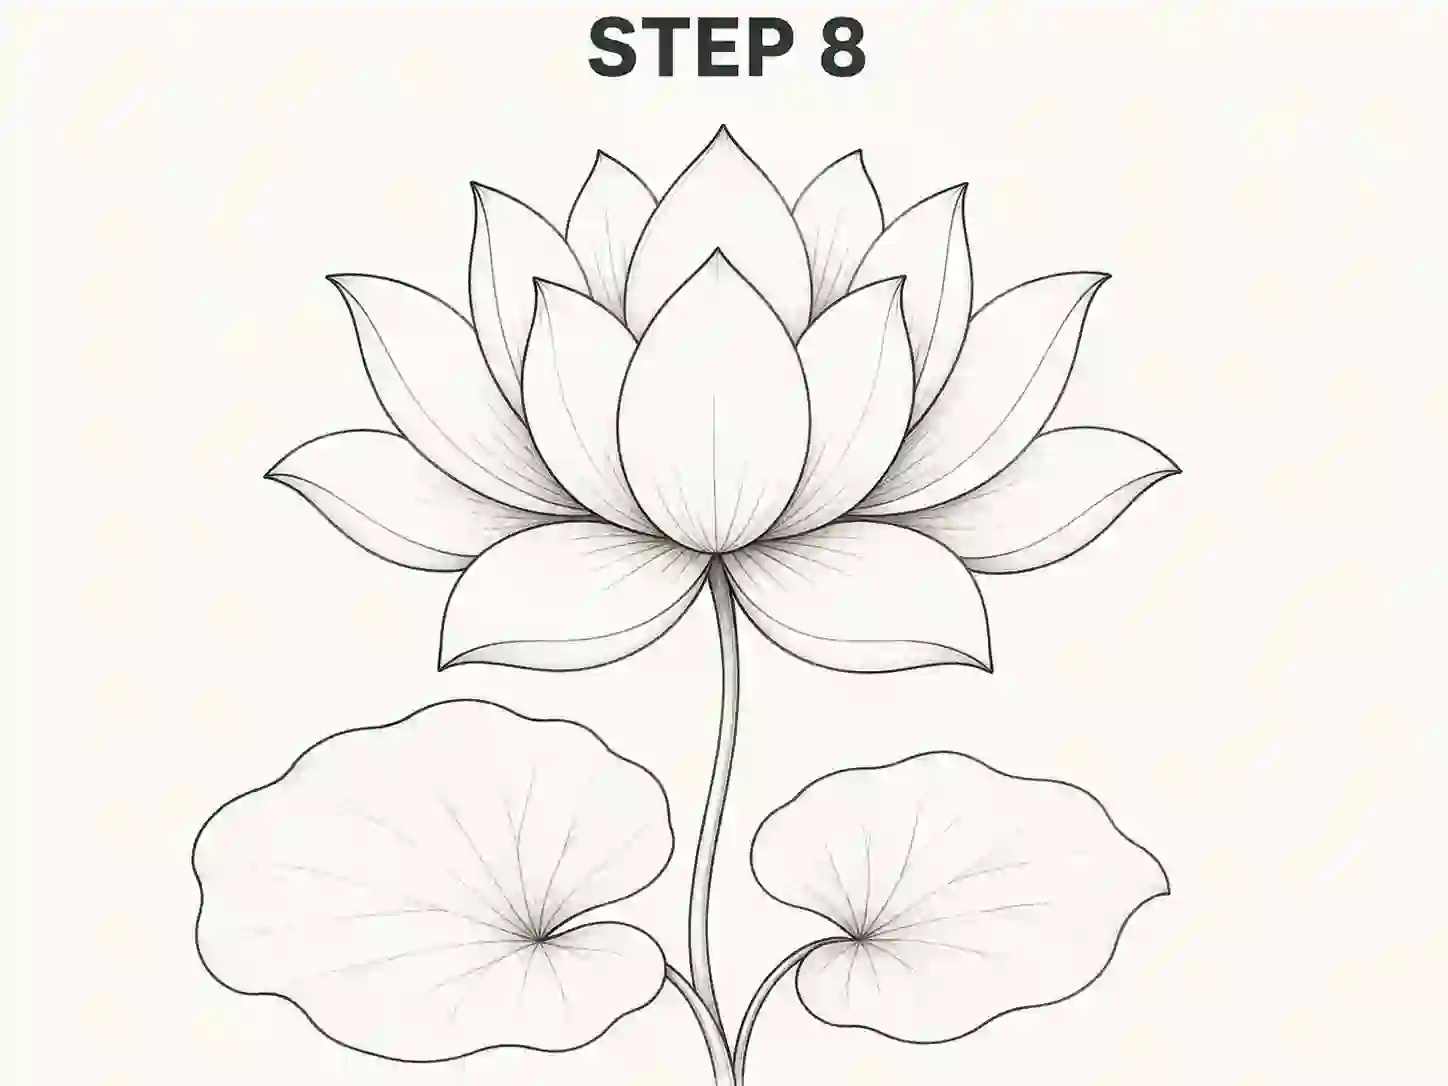
The lotus is a popular subject in art because it looks graceful without being too difficult. It also gives you a chance to practise curved petals, layered shapes, and clean outlines.
A simple lotus flower drawing is useful for:
Difficulty
Beginner
Time required
Around 10 to 15 minutes
Steps
8
Style
Pencil line drawing with optional light shading or colour
Best for
Beginners, kids, students, and hobby artists
Final result
Open lotus flower with layered petals, stem, and leaves
You do not need expensive supplies for this tutorial. A basic setup is enough.
If you want to turn the sketch into a lotus flower drawing with colour, you can use pink for the petals, green for the leaves, and yellow for the centre.
Before starting your easy lotus flower drawing, remember a few simple ideas:
This lotus drawing step by step guide follows eight simple stages.
Start by sketching a small guide shape near the upper middle of the page. This will help position the flower centre and keep the lotus balanced. Keep this first part light and simple.
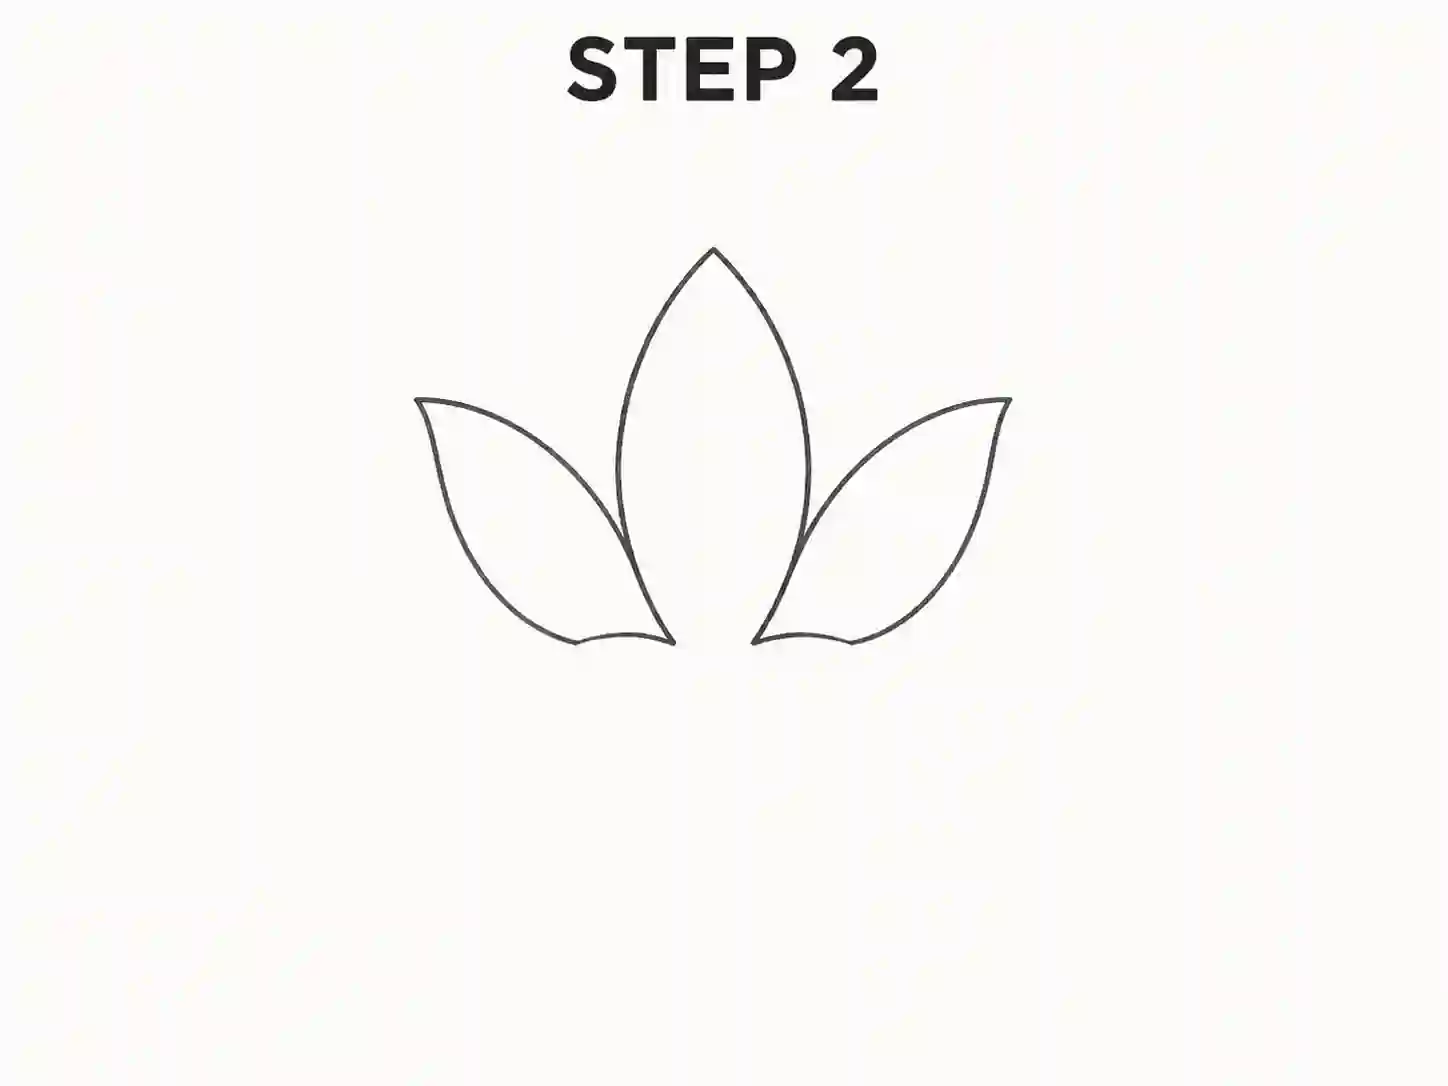
Draw the first visible petals around the centre. These should be upright and slightly pointed at the top. Keep them smooth and evenly spaced.
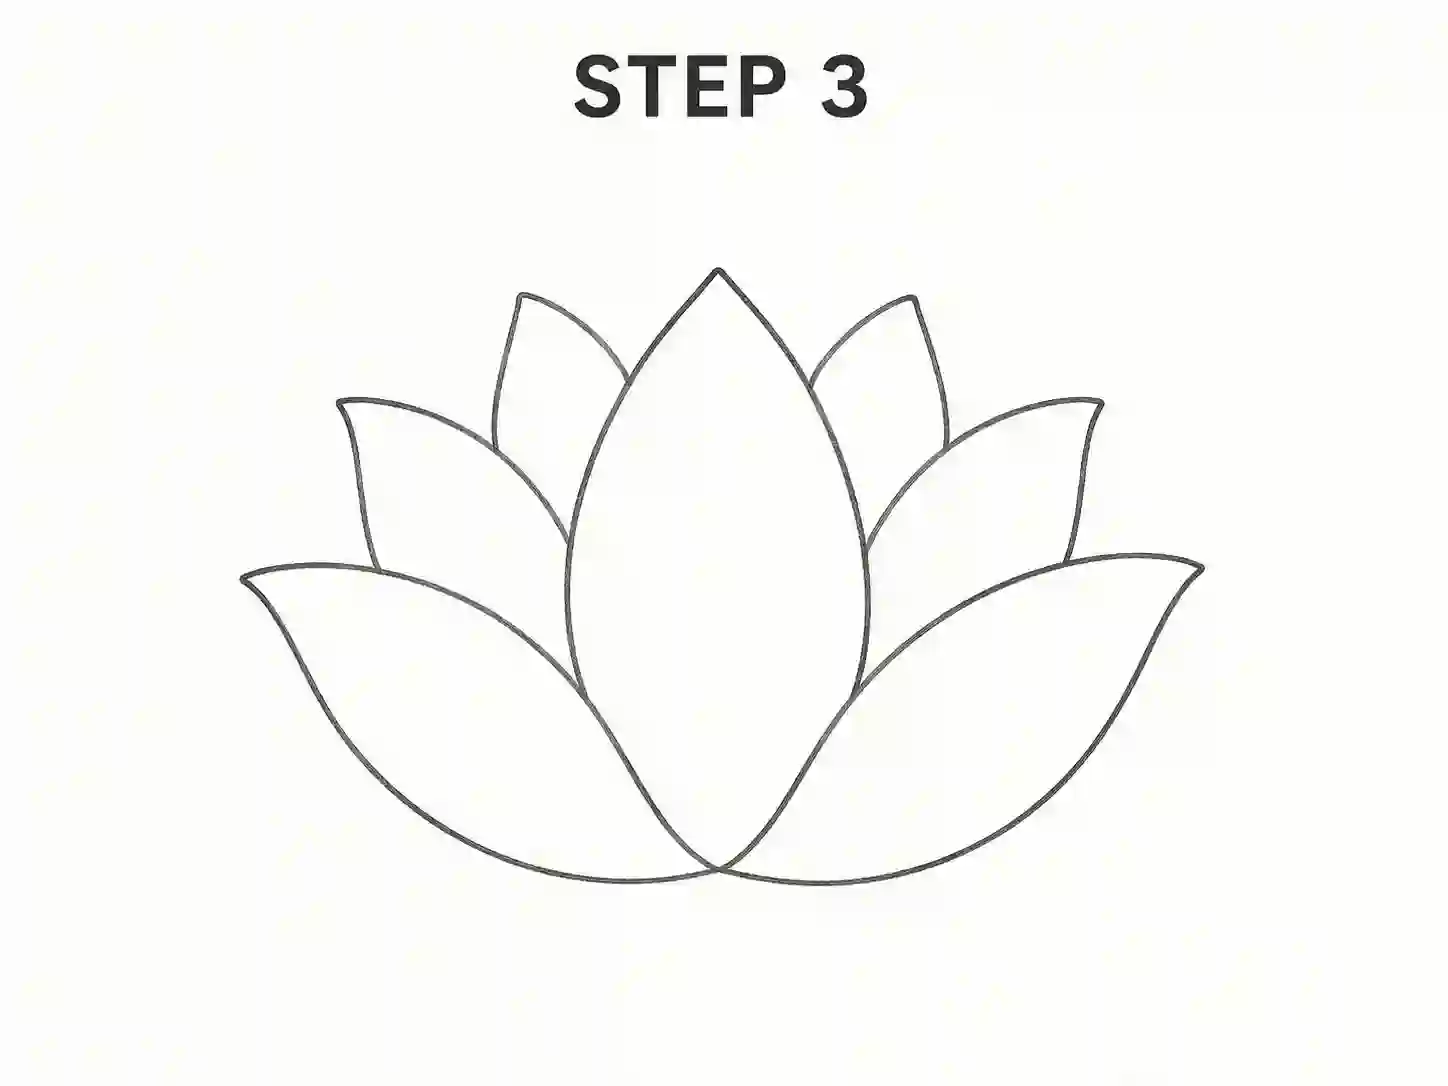
Add more petals behind and beside the first ones. At this point, the flower should begin to look open and layered.
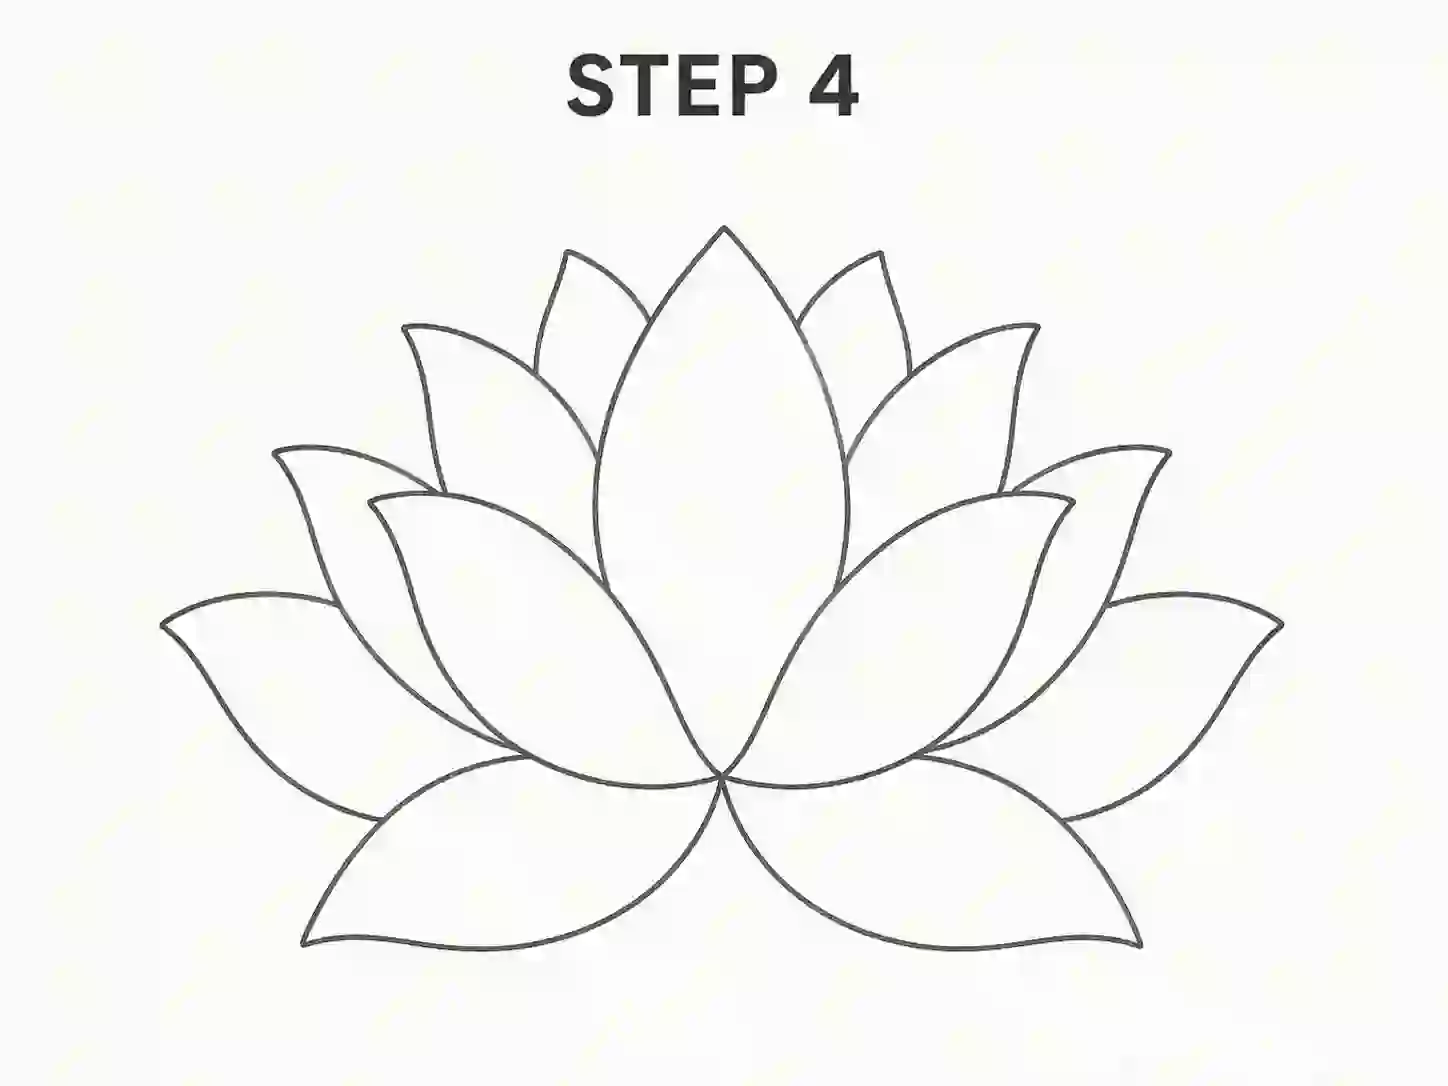
Now extend the lotus by adding the wider outer petals. These petals help the flower look full and elegant.
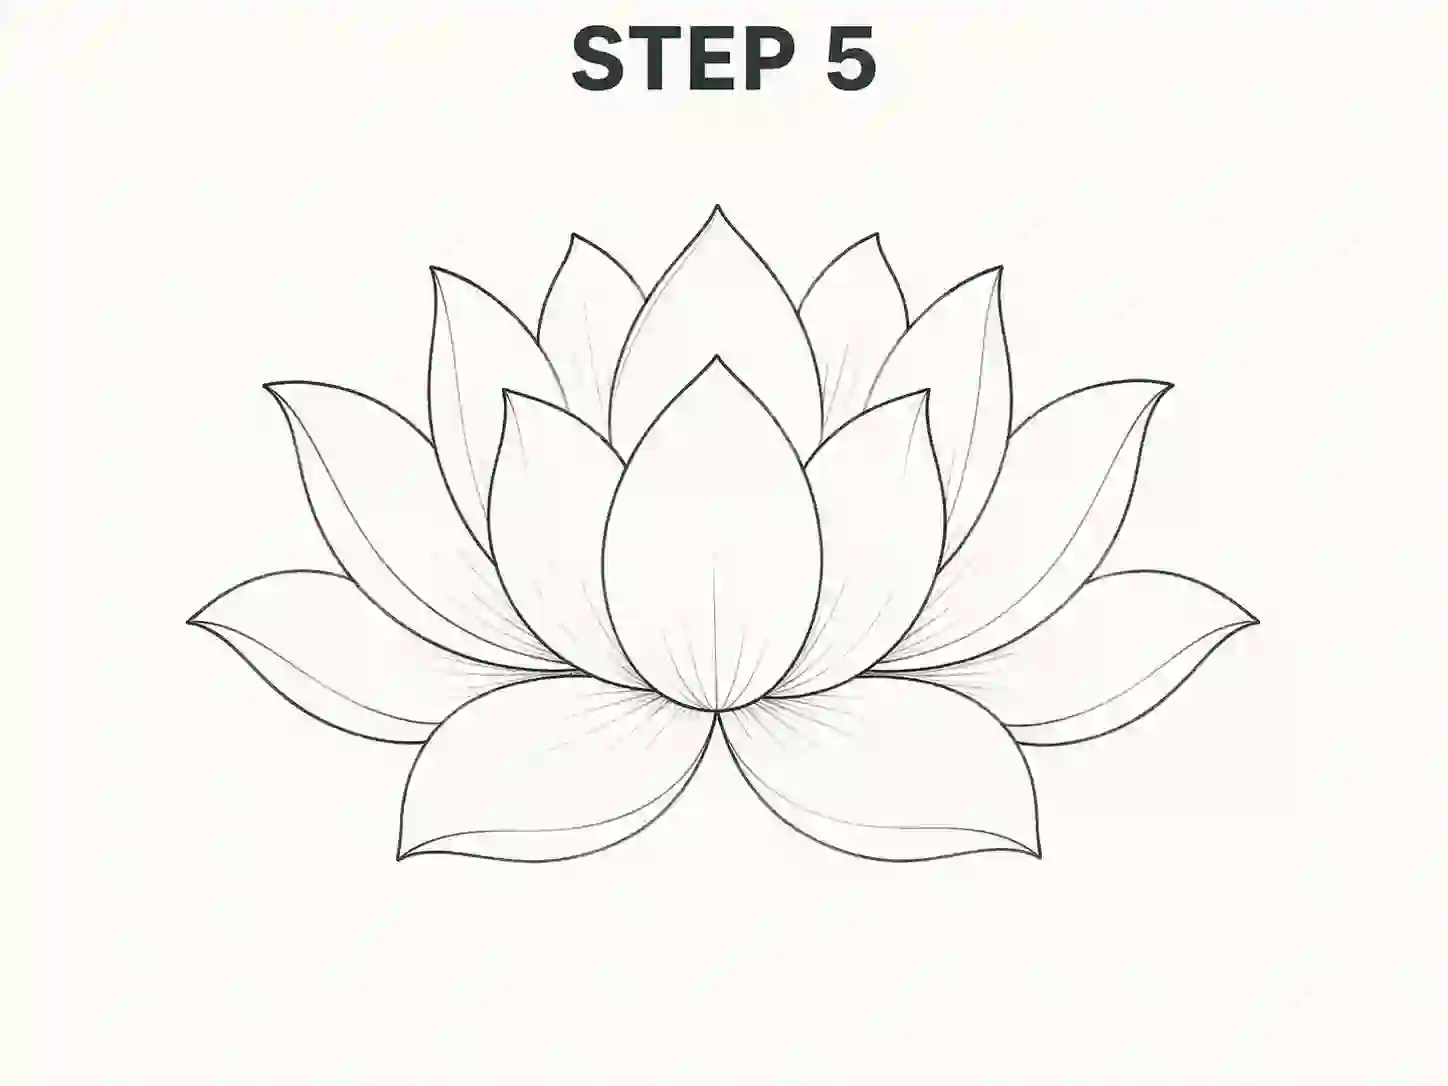
Improve the edges and shapes of the petals. Make slight adjustments so the bloom looks clean, balanced, and natural.
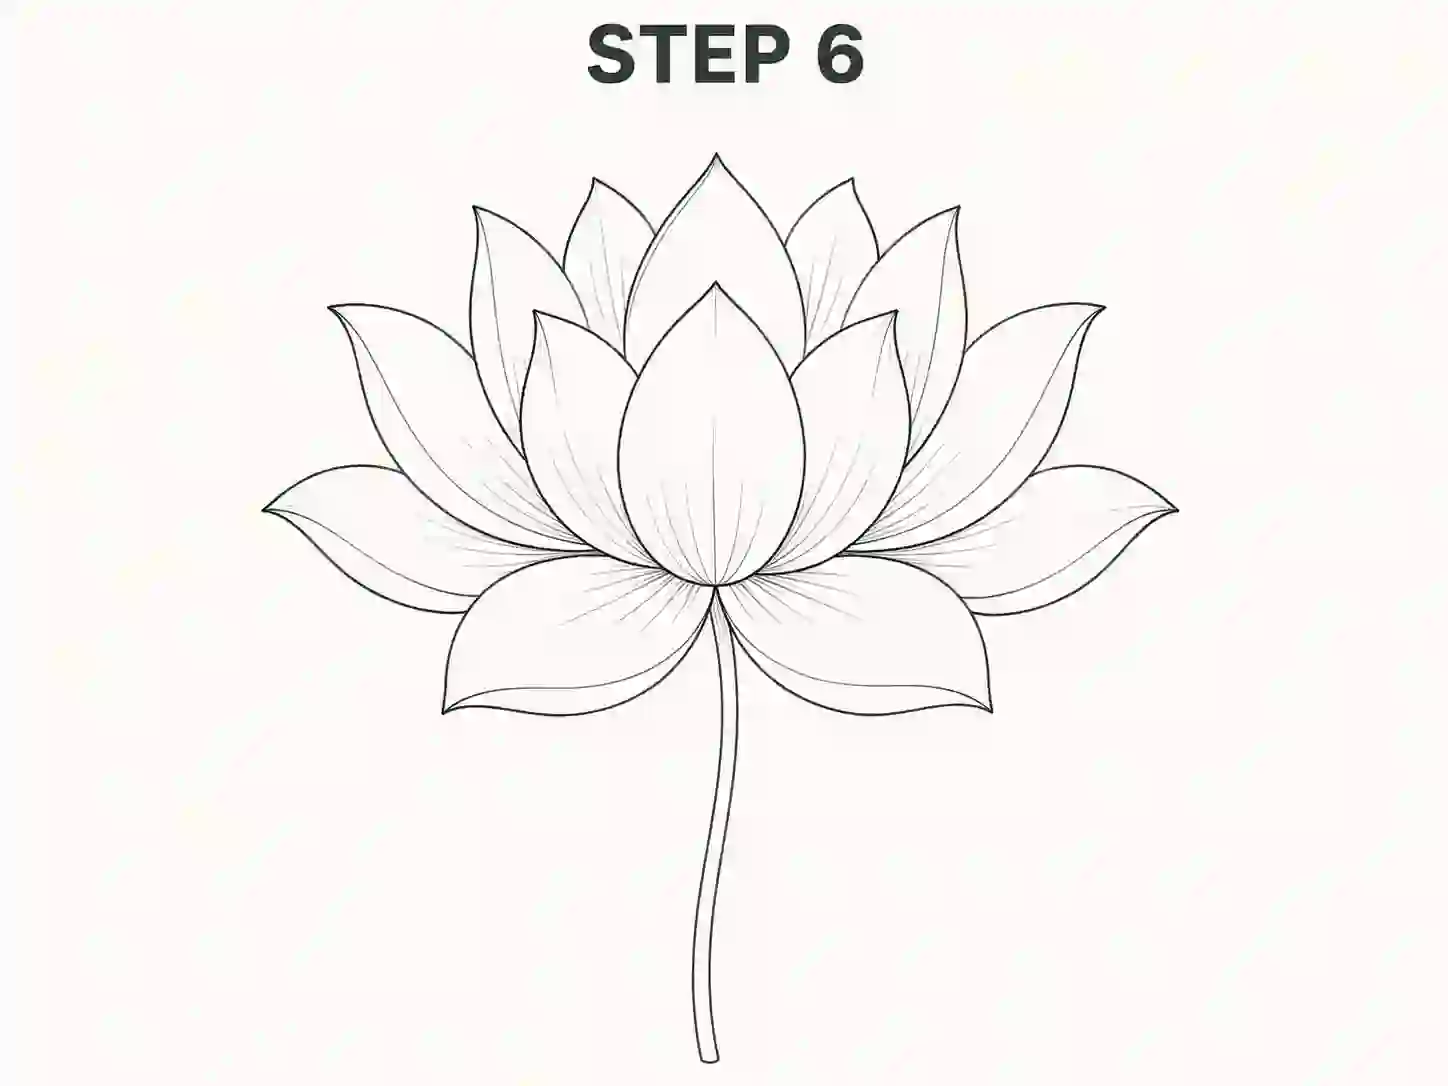
Add a long, neat stem beneath the flower. The stem should be simple and not too thick.
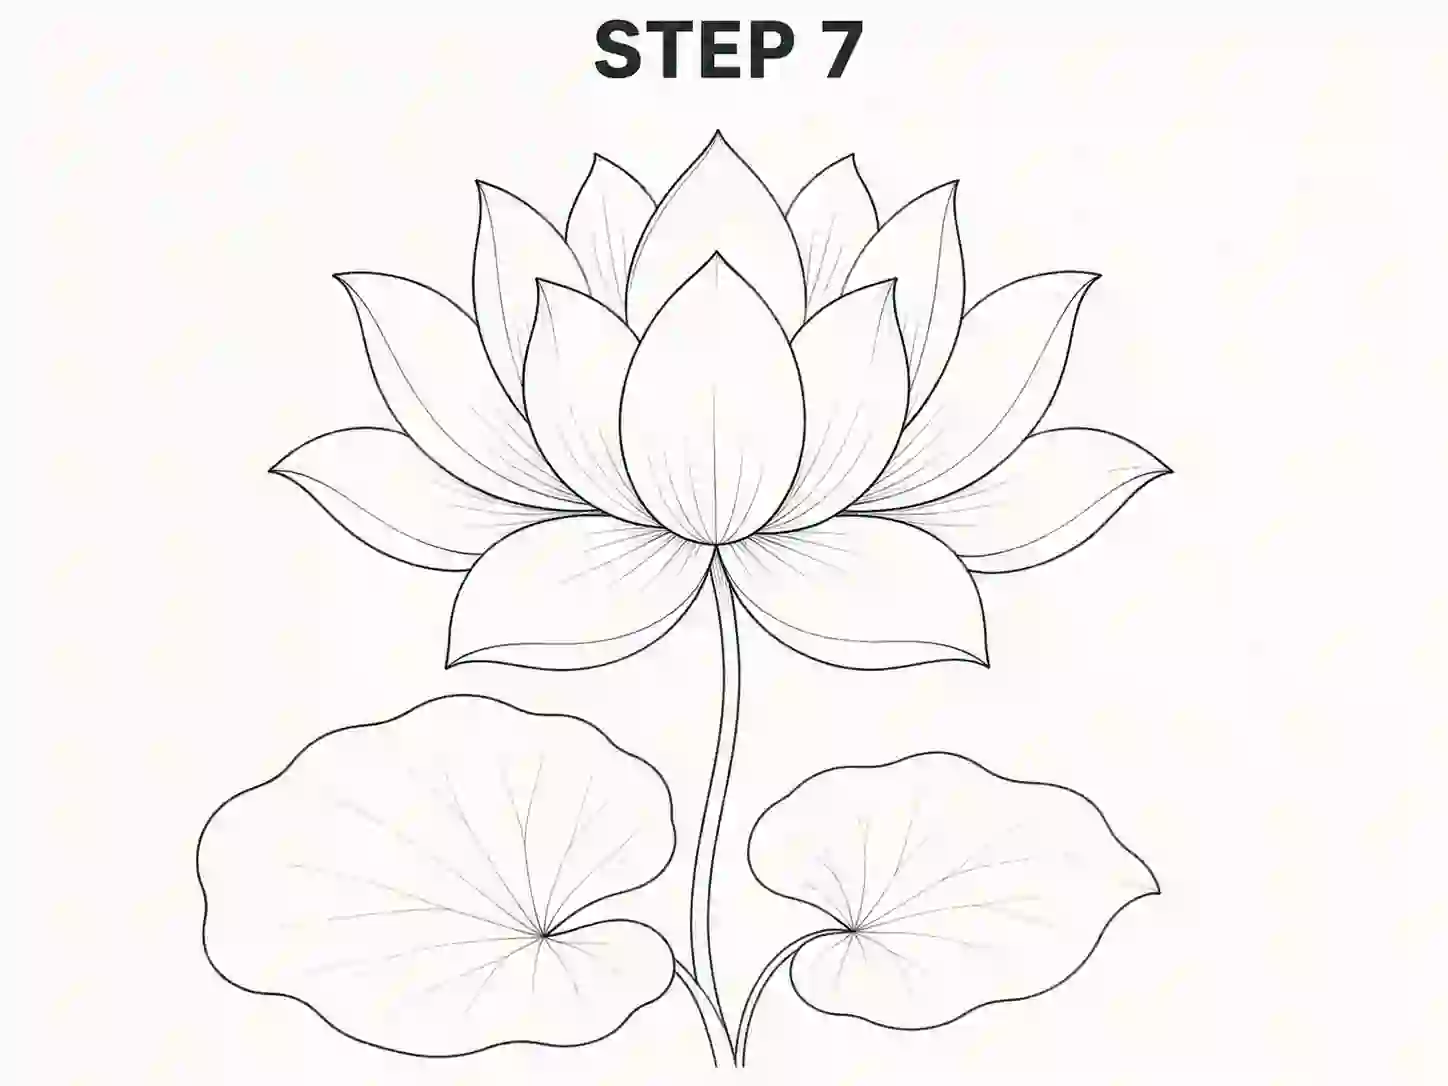
Draw one or more lotus leaves near the stem. Keep them broad and gentle in shape so they match the softness of the flower.
Darken the final outline, erase unnecessary construction lines, and add light shading if you want a polished finish. This final stage can also become your featured image or worksheet result.
A beginner lotus flower simple drawing can look much more attractive if you focus on a few small improvements.
The flower should read from inside to outside. Try to arrange the petals in visible layers:
This makes the bloom easier to understand and nicer to copy.
Lotus petals usually have soft curved sides and pointed tops. If the tips become too round, the flower may lose its lotus-like feel.
The left and right sides do not have to be identical, but they should feel equally full.
If you want a clean lotus flower drawing outline, keep the design simple and focus on the main petal shapes.
For a strong outline version:
This version is perfect for tracing, worksheets, wall art practice, and simple floral design ideas.
A lotus flower pencil drawing looks best when the shading stays light and controlled.
You can shade lightly in these places:
For another flower that combines clean outlines with delicate pencil details, follow our orchid drawing guide.
Do not shade the full petal surface too darkly. A lotus should still look soft and open. Leaving more white paper visible makes the drawing cleaner.
If you want a lotus flower drawing colour version, keep the colouring soft and pleasant.
A drawing for kids should stay simple and fun. For younger learners:
You can also encourage children to colour the petals after finishing the outline. This makes the activity more interactive and easier to enjoy.
There are two main ways to approach a lotus sketch.
Best for beginners because it uses:
Best for more advanced artists because it needs:
This tutorial is intentionally designed as a beginner-friendly middle ground. It is clean enough for a worksheet, but polished enough to become a nice sketch drawing result.
When practising drawing lotus flower, many beginners make the same few mistakes.
Realistic flowers usually change in size as they move outward. Smaller centre petals and larger outside petals help the drawing look more natural.
Do not squeeze too many lines into the middle of the flower. A neat centre makes the whole lotus easier to read.
If all petals stop at the same height, the flower can look stiff. Use layered heights for a more open bloom.
Lotus leaves should feel broad enough to support the flower visually. Tiny leaves may look disconnected from the bloom.
After finishing your first drawing, try a few small variations:
These variations help you build confidence without changing the subject completely.
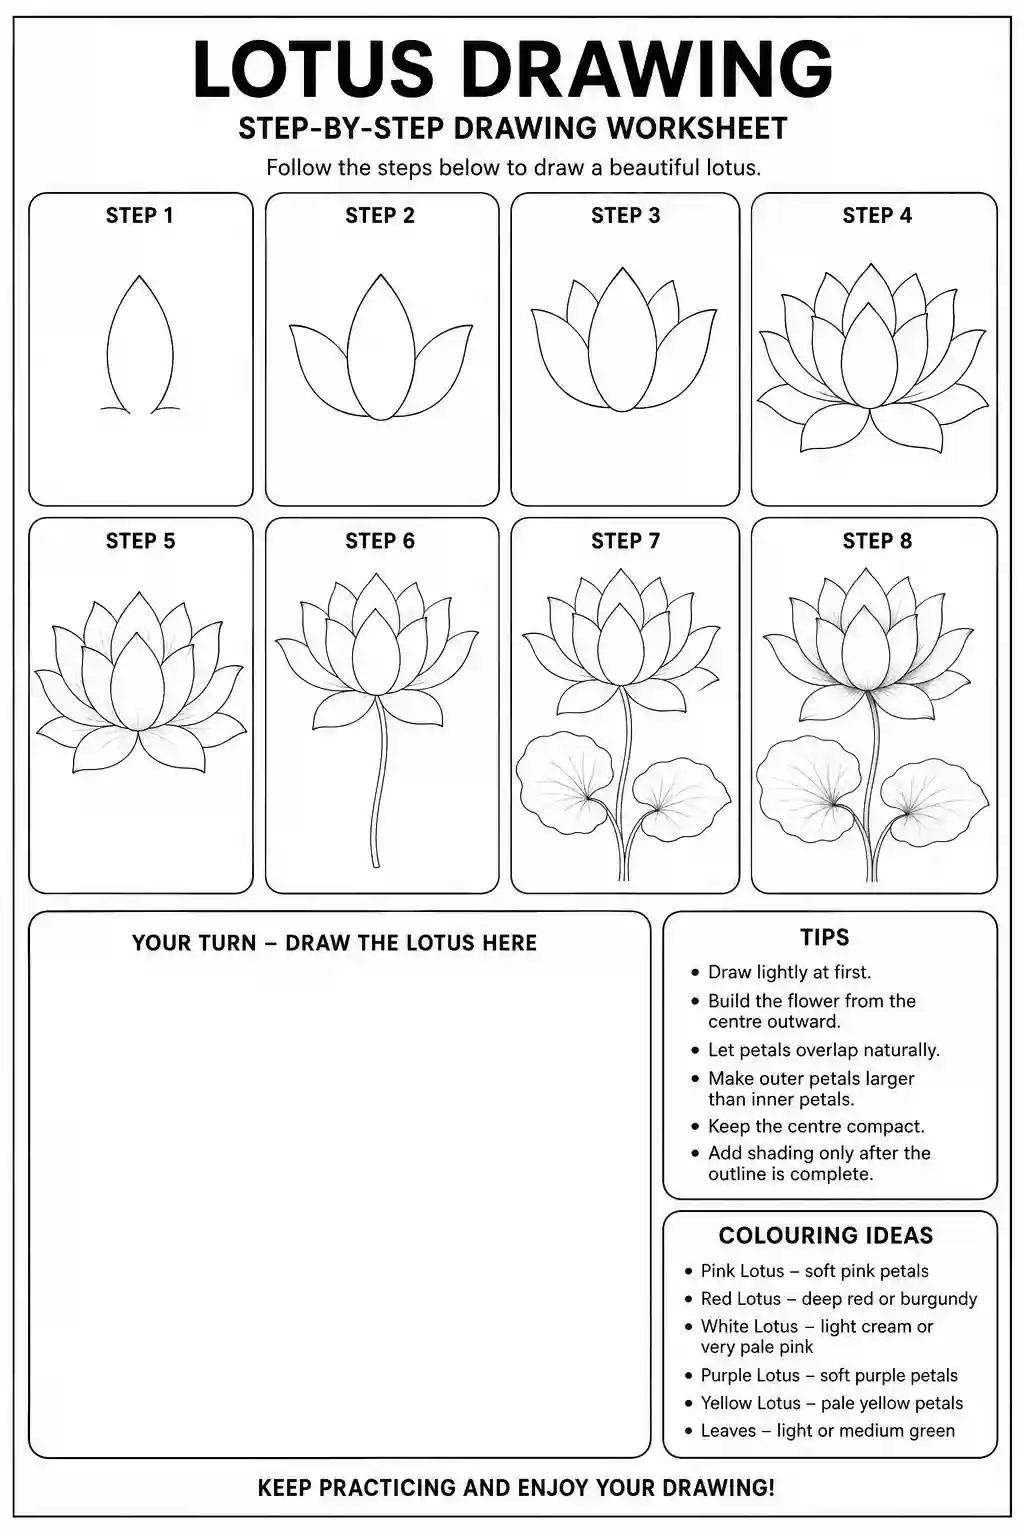
If you learn best by following each stage slowly, use the worksheet version of this tutorial. A printable worksheet can help you:
The easiest way is to begin with a small centre guide and then add petals in layers from the inside outward.
Yes, this tutorial is designed for beginners, students, and kids who want a clear step-by-step method.
Yes, you can colour the petals pink, the centre yellow, and the leaves green after completing the pencil outline.
This tutorial follows eight simple steps from the centre guide to the finished flower.
Yes, children can follow it easily, especially if they use the simplified outline and colouring approach.
Yes, the finished sketch can work as a clean outline version for tracing, worksheets, or simple design practice.
A lotus flower is a beautiful choice for beginners because it teaches balance, petal layering, and soft floral structure in a very approachable way. Whether you prefer a simple drawing, pencil sketch, or a coloured version, this flower gives you plenty of room to practise without becoming too complicated.
Start with the centre, build the petals in layers, keep the outline neat, and finish with light details. With a little repetition, your lotus flower easy drawing will quickly begin to look cleaner and more confident.
Explore more flower drawing tutorials to practise different flowers with simple step-by-step guides.
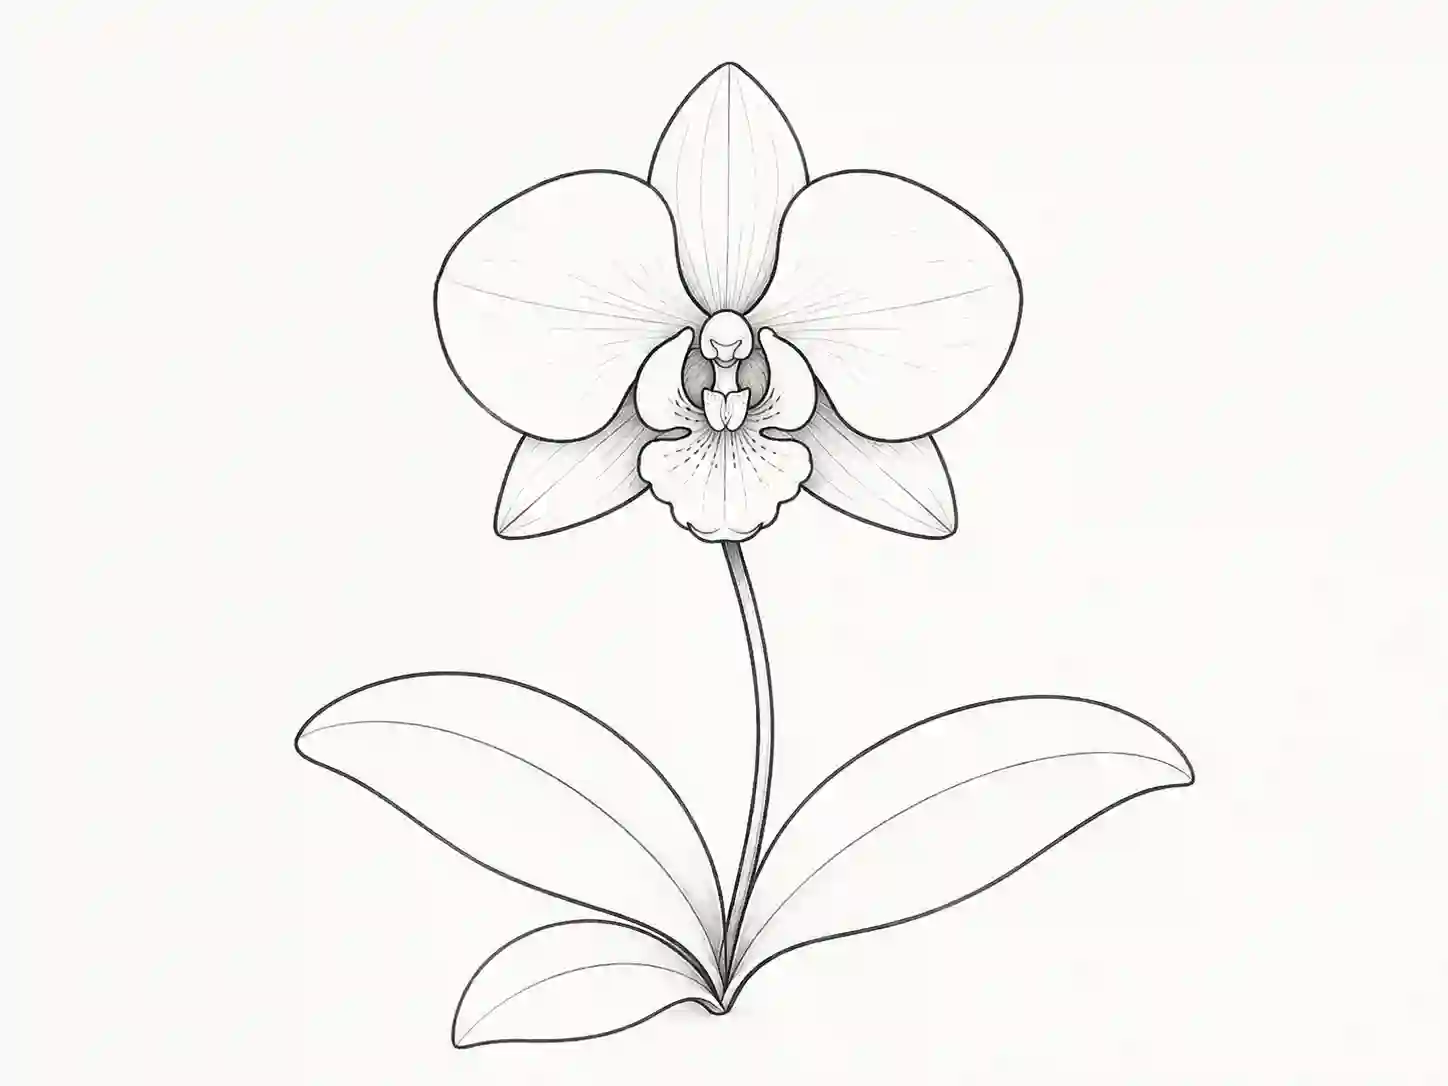
An orchid drawing can look complicated at first because its petals have unusual curves and the centre has more detail than many common flowers. However, drawing becomes much easier when you build it gradually from a few simple shapes.
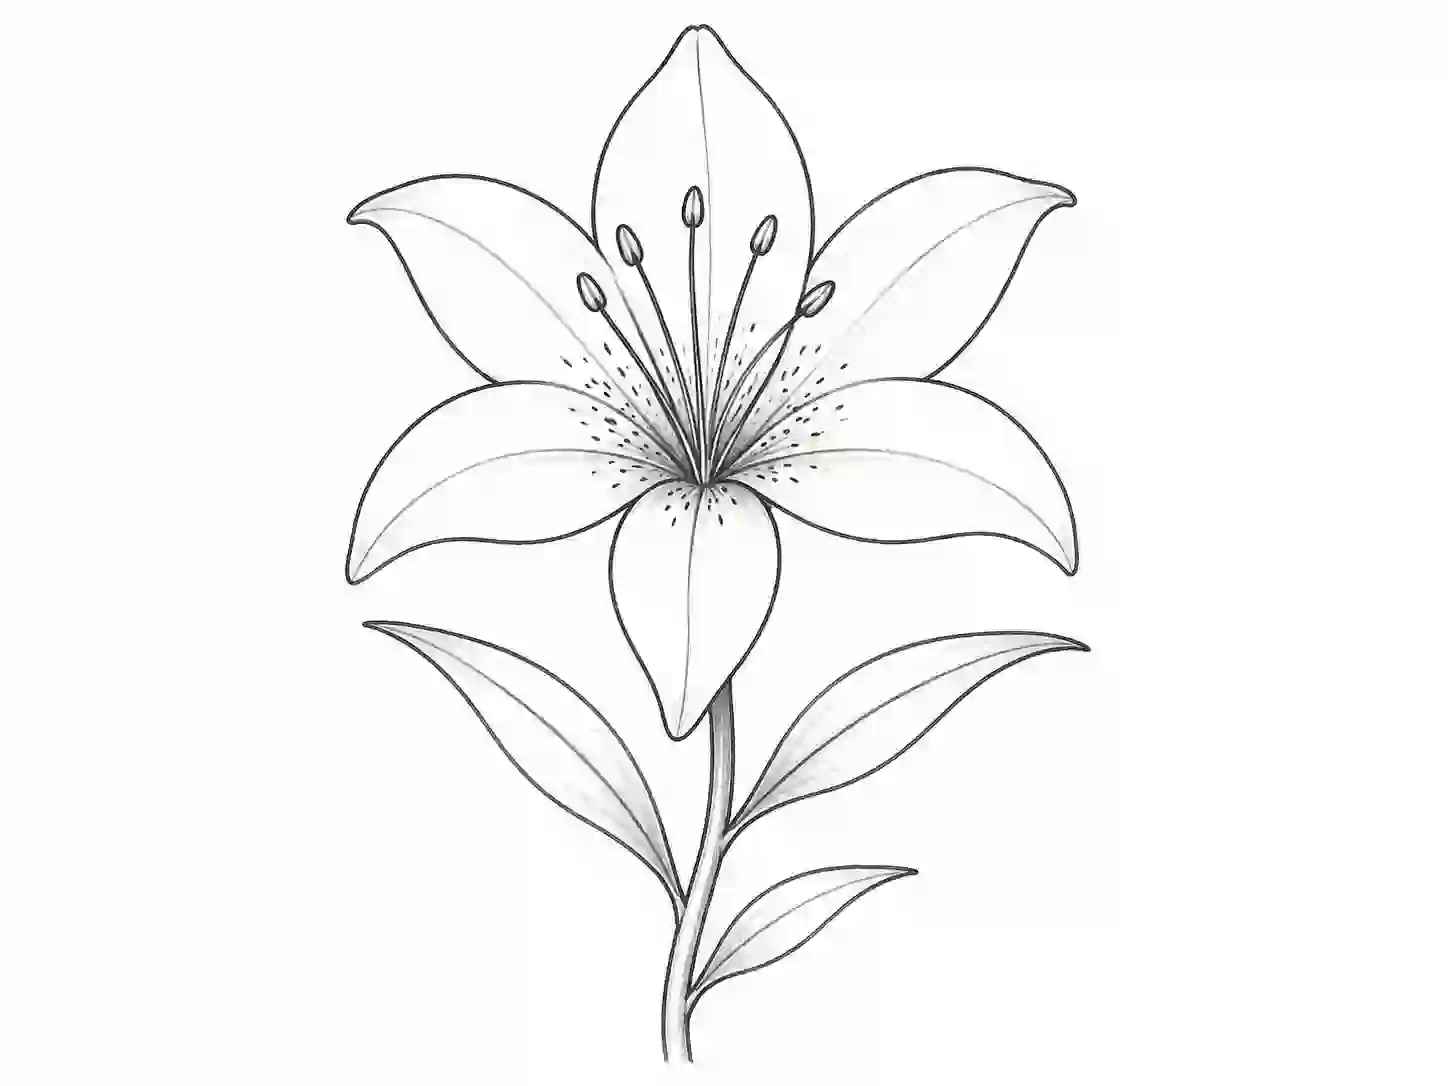
A lily may look detailed because of its curved petals, long stamens, and narrow leaves, but the flower becomes much easier to draw when you separate it into basic shapes. This beginner-friendly lily flower drawing tutorial will guide you through the complete process, from the first light guidelines to the final outline and optional colour.
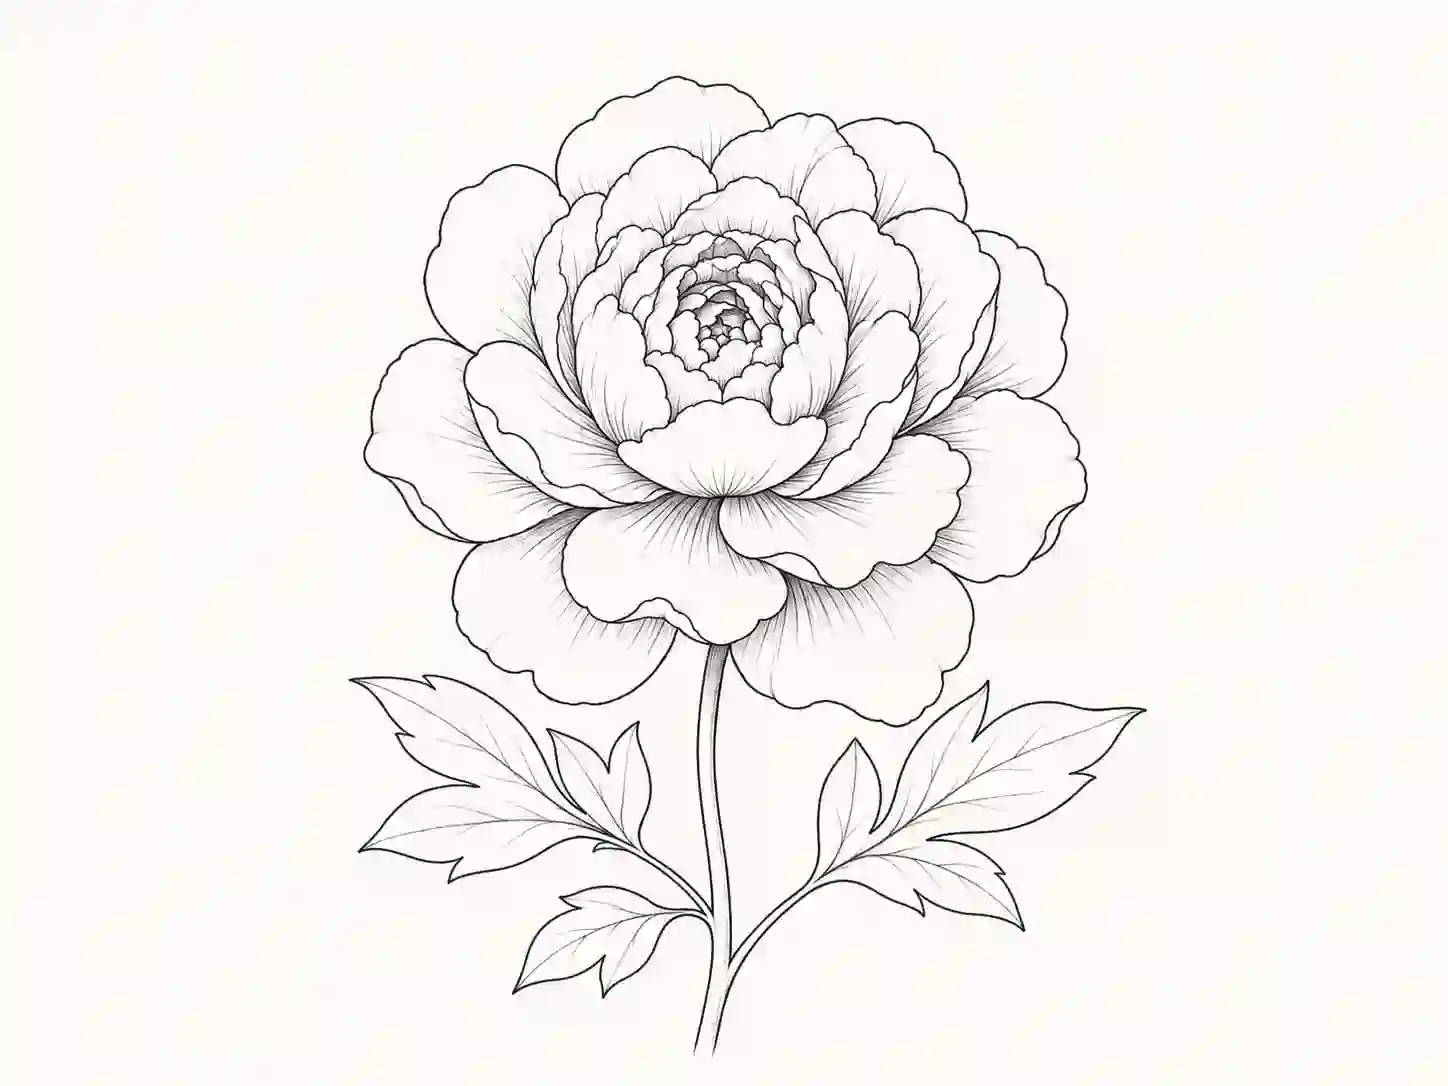
A peony is made from many overlapping petals, which can make it look difficult to sketch at first. The easiest way to create a peony drawing is not to draw every petal separately from the beginning. Instead, start with the compact centre and gradually build larger layers around it.