
Skip to content
FlowerDrawings.orgFlowerDrawings.org

Lily Flower Drawing Easy Step-by-Step Guide

A lily may look detailed because of its curved petals, long stamens, and narrow leaves, but the flower becomes much easier to draw when you separate it into basic shapes. This beginner-friendly lily flower drawing tutorial will guide you through the complete process, from the first light guidelines to the final outline and optional colour.

You do not need advanced drawing experience or professional art materials. A pencil, an eraser, and a clean sheet of paper are enough to begin. The tutorial uses eight clear stages, allowing you to build the flower gradually without making the page feel crowded.

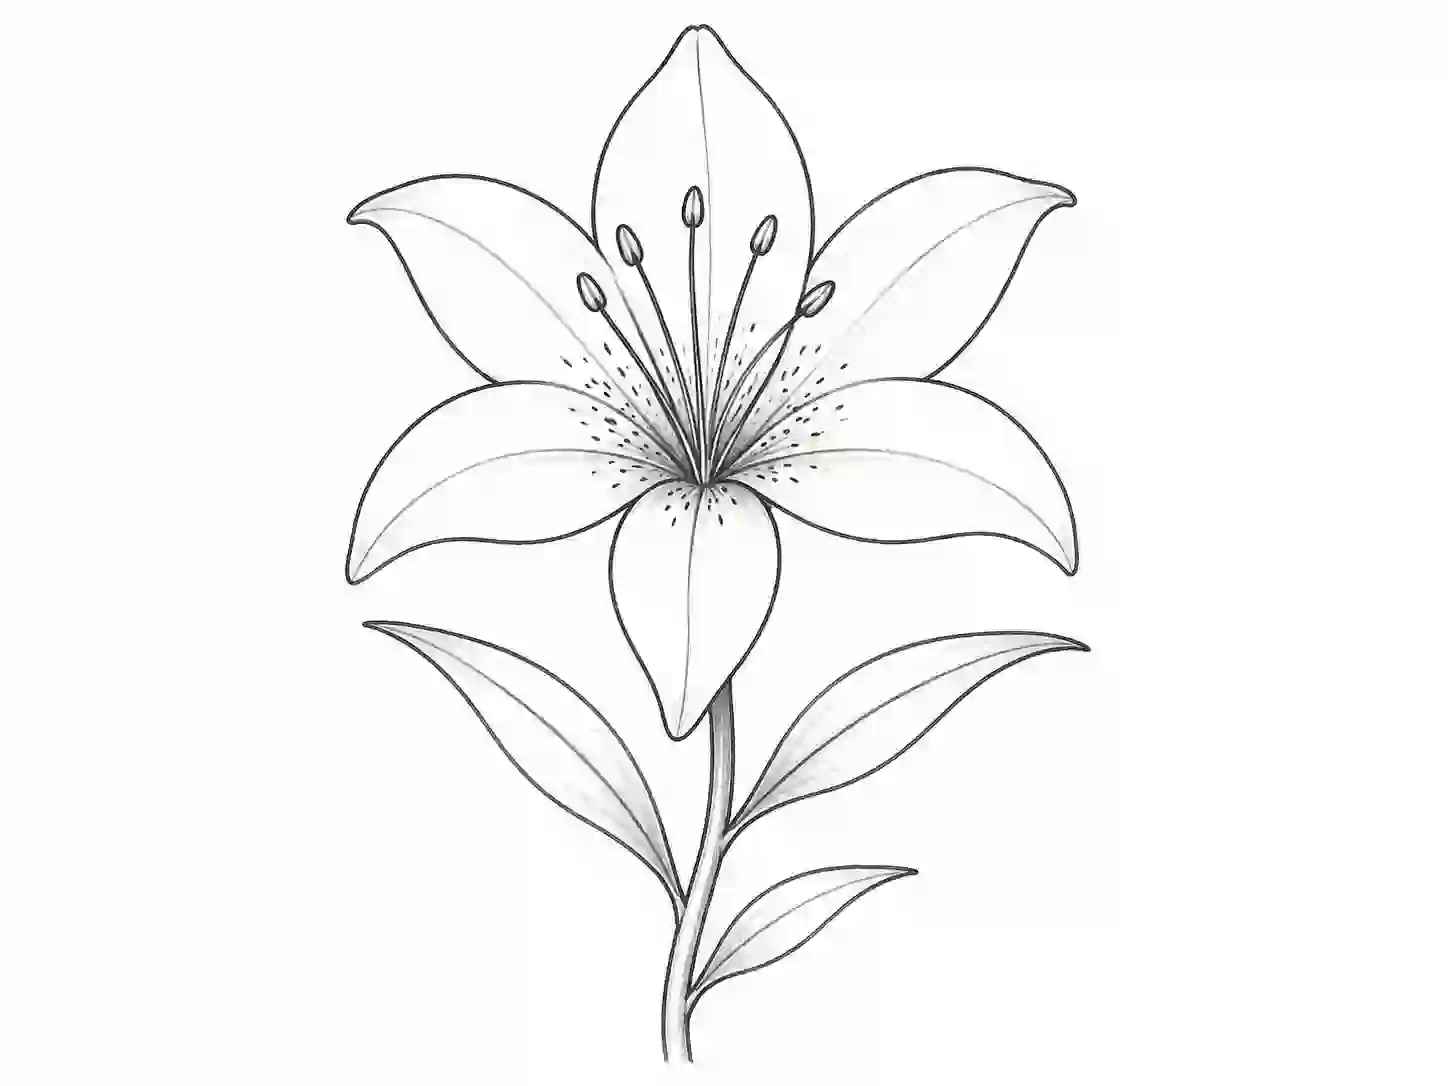
By the end, you will have a complete drawing of a lily flower with six open petals, visible stamens, a curved stem, and balanced leaves. You can keep the artwork as a simple pencil sketch, add soft shading, or finish it with pink, orange, yellow, or white colouring.

lily flower drawing

Tutorial Information

Difficulty

Beginner

Estimated time

10–15 minutes

Drawing style

Pencil outline with optional shading and colour

Main subject

Open lily flower with stem and leaves

Number of steps

8

Best for

Children, students, beginners, parents, and teachers

Optional finish

Coloured pencil, crayons, markers, or watercolour

Materials You Need

You can complete this tutorial with a few basic drawing materials:

  • HB or number 2 pencil
  • Clean drawing paper
  • Soft eraser
  • Pencil sharpener
  • Black fineliner for the final outline
  • Coloured pencils, crayons, or markers
  • Printed practice worksheet, when available

Start with a light pencil grip. Pale construction lines are easier to erase and adjust than dark marks. Once the proportions look correct, you can strengthen the final outline.

How to Draw a Lily Flower Step by Step

This lily drawing step by step guide uses eight stages. Complete each stage slowly and compare the position of every new line with the shapes already on the page.

Do not worry if your petals are not perfectly identical. Real lilies have natural curves, small folds, and slightly uneven edges. Those differences can make your drawing look more organic.

easy lily flower drawing
1

Step 1: Draw the Centre Guideline

Begin by drawing a small oval near the upper-middle area of the page. This shape will help you position the centre of the lily.

Keep the oval light because most of it will later be covered by petals and stamens. Leave enough blank space around it for the flower to spread outward.

You can also draw a short vertical guideline through the oval. This will help you keep the upper and lower petals balanced.
drawing of a lily flower
2

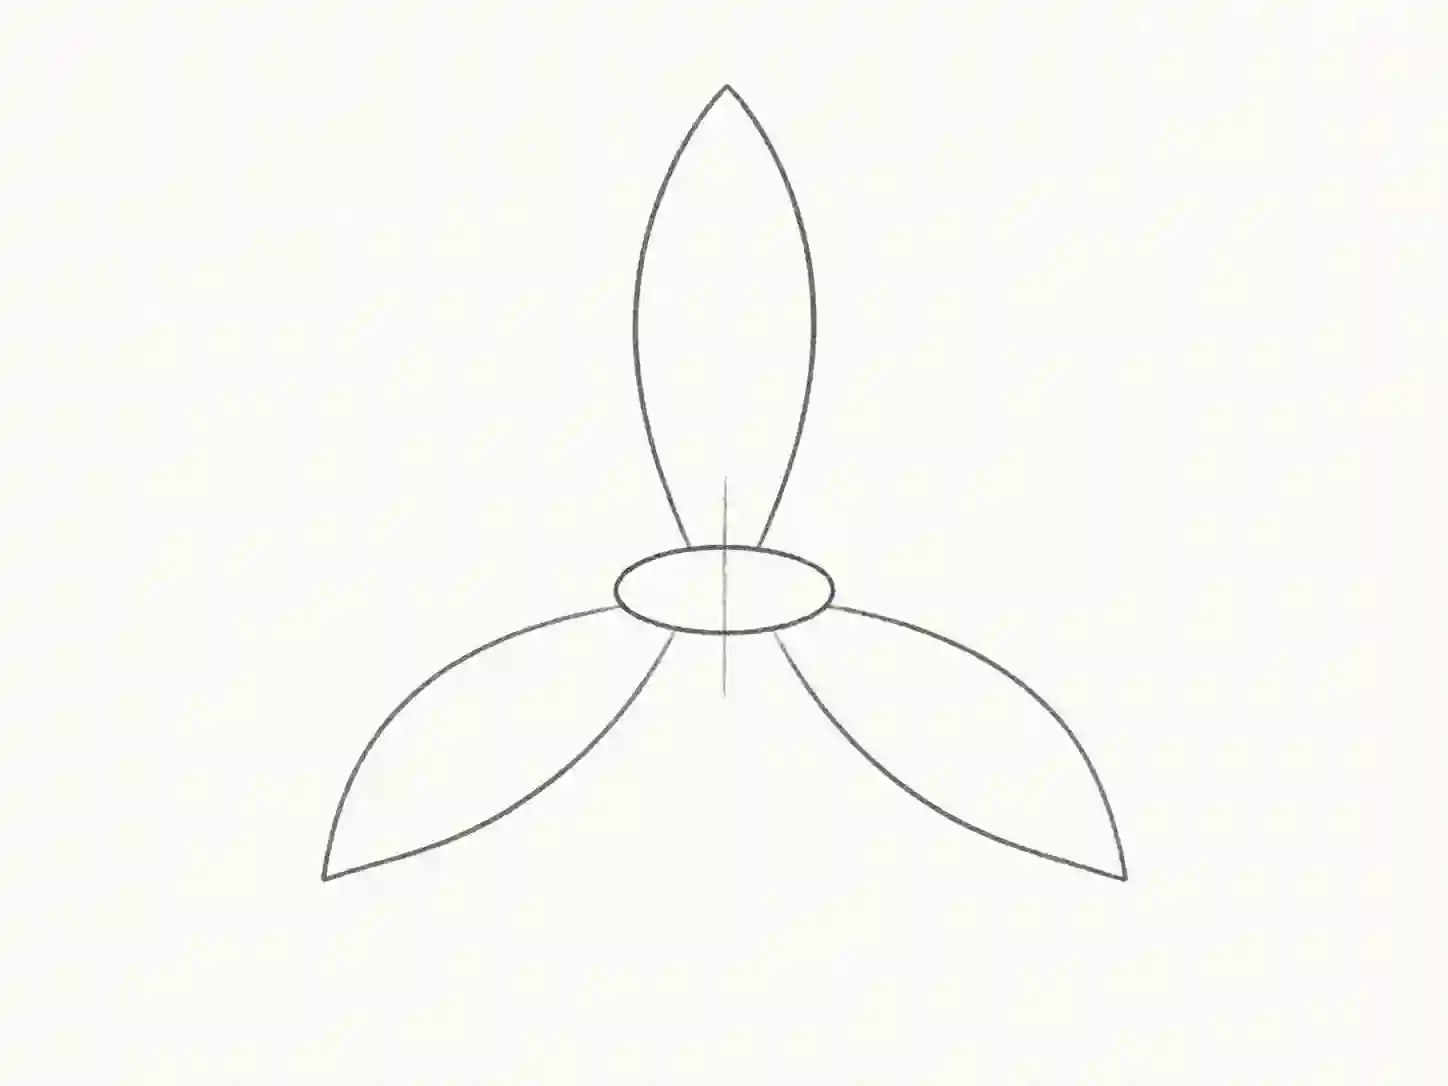
Step 2: Add the First Three Petals

Draw three long petals extending from the centre.

Place one petal at the top, one toward the lower left, and one toward the lower right. Each petal should be wider near the middle and narrower where it connects to the flower centre.

Use smooth curved lines rather than sharp corners. The edges may bend slightly outward to make the petals look soft and open.

At this stage, focus only on the main petal shapes. Small folds and details can be added later.

lily flower drawing with colour
3

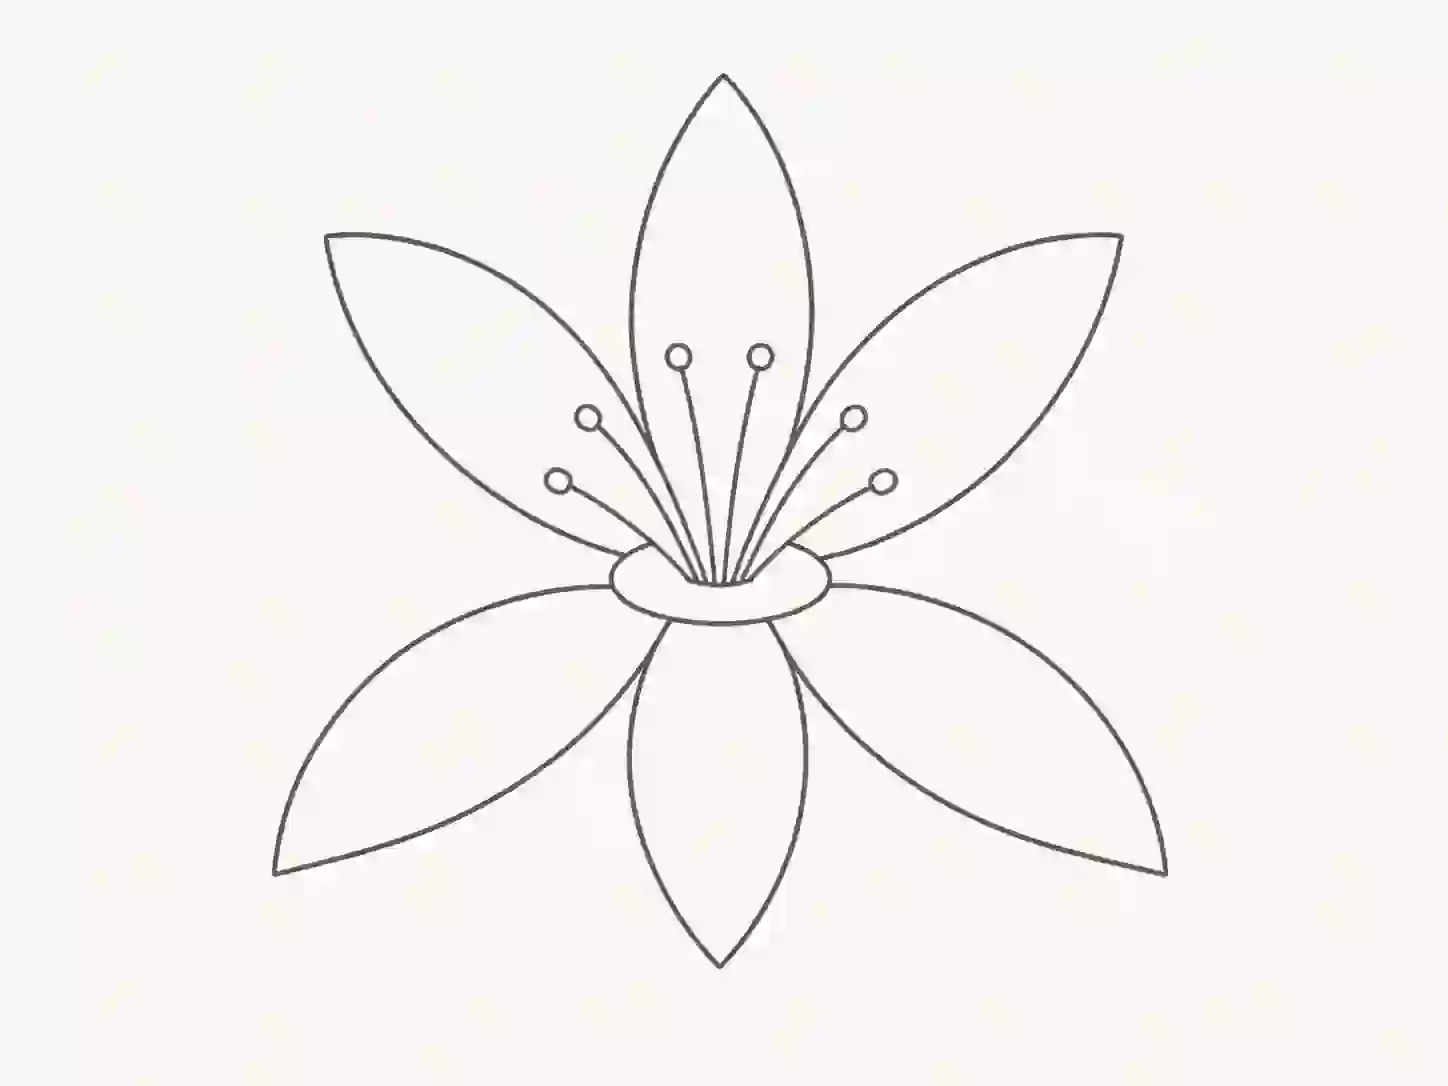
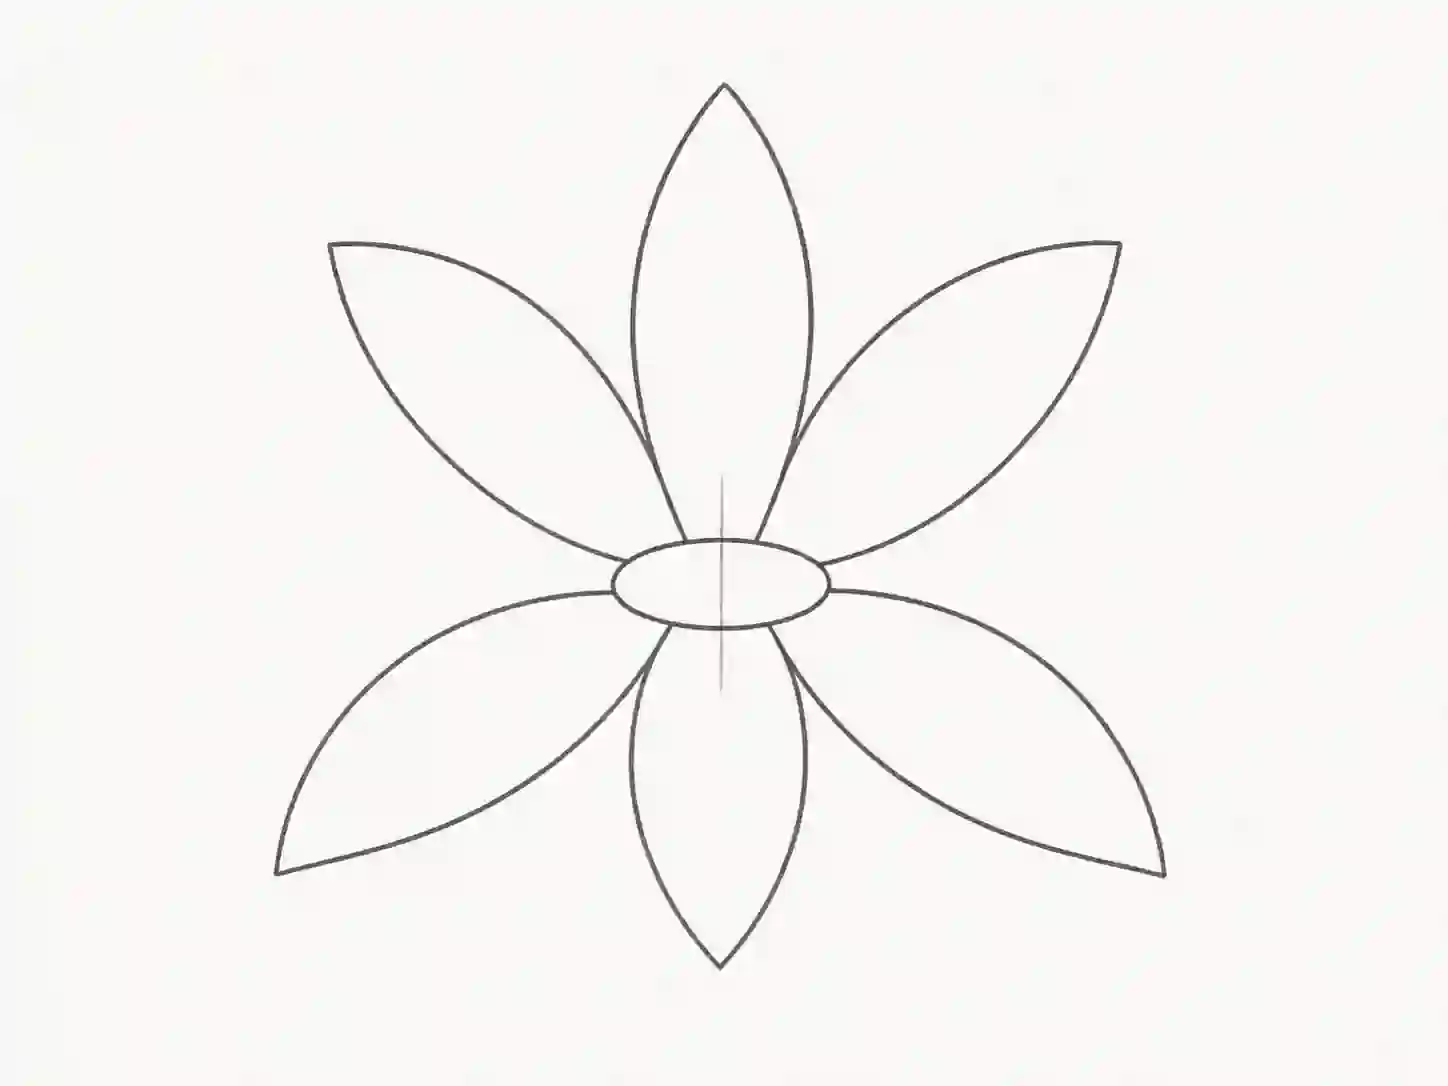
Step 3: Complete the Six-Petal Flower

Add three more petals between the first set.

Some new petals should overlap slightly behind the petals you already drew. This overlap creates depth and helps the flower look layered rather than flat.

A typical lily has six prominent petal-like sections, although their angles may vary. Avoid making every petal exactly the same width. A little variation will make the flower look more natural.

Your drawing should now resemble an open star-shaped flower with broad curved petals.

flower lily drawing
4

Step 4: Draw the Stamens

Inside the centre, draw several thin curved lines extending upward and outward. These lines form the stamens.

Add a small oval or rounded tip at the end of each line. These tips represent the anthers, which often hold the flower’s pollen.

Keep the stamens narrow so they do not overpower the petals. Some may curve toward the left, while others can lean toward the right.

This detail is important because the long stamens are one of the most recognisable features in lily flower.

lily drawing flower
5

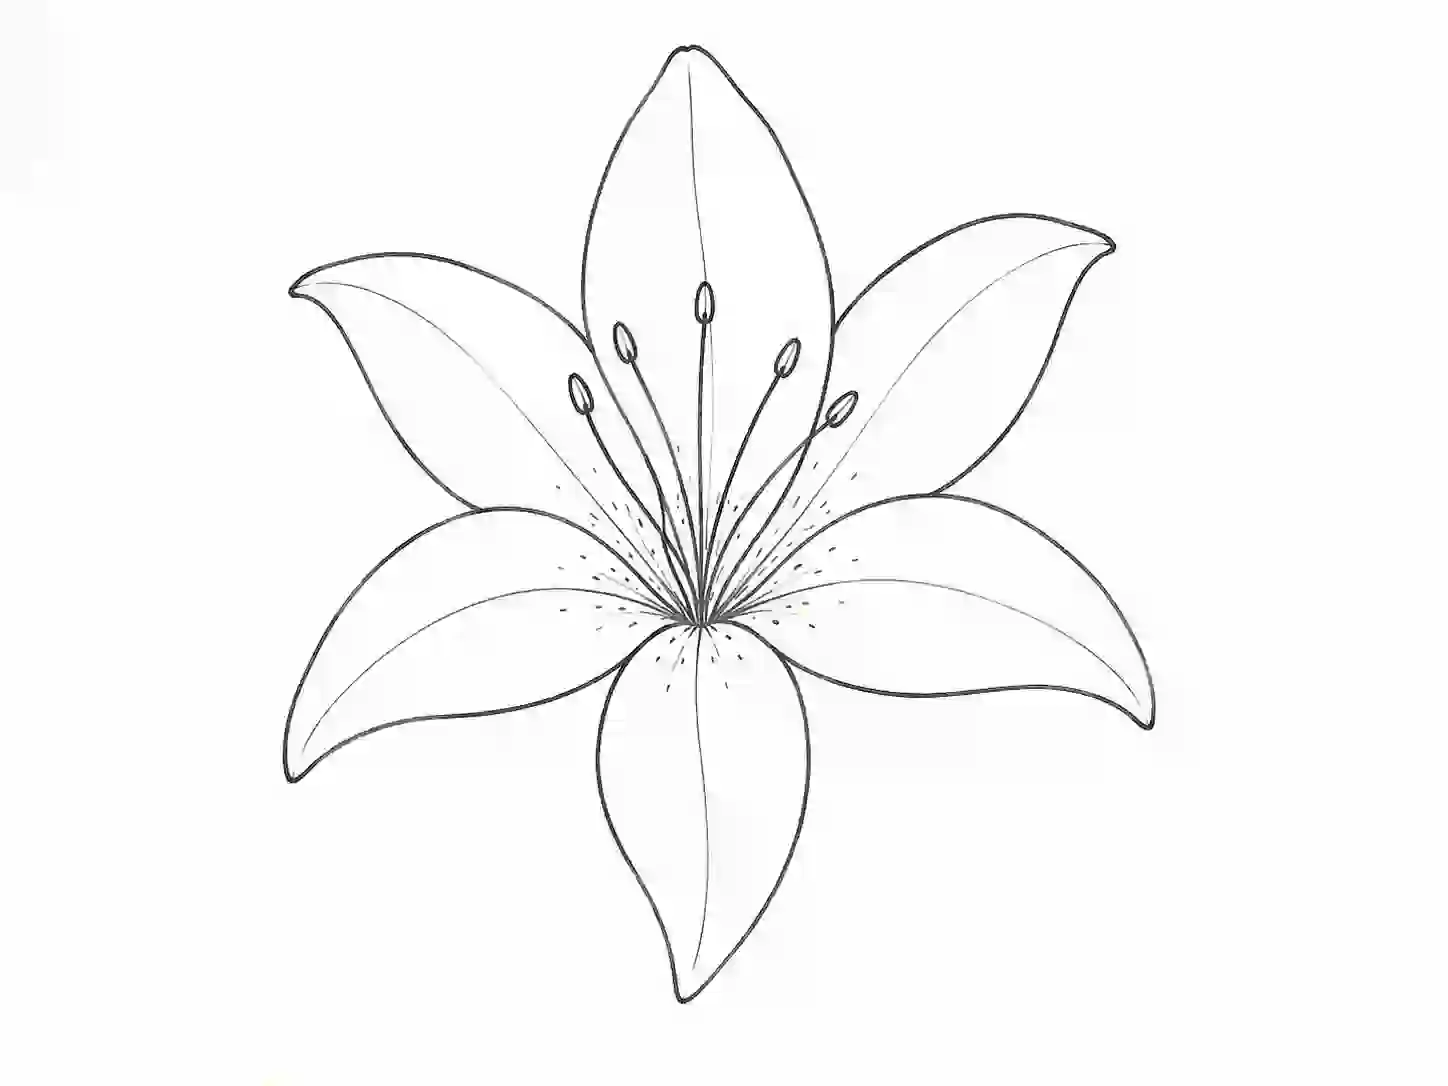
Step 5: Add Petal Folds and Spots

Draw one or two light curved lines inside selected petals. These lines should follow the direction in which each petal grows.

Do not outline every fold heavily. A few soft interior marks are enough to suggest shape and depth.

You may also add small dots or short marks near the base of the petals. Many lily varieties have visible spots or colour patterns near the centre.

For a clean lily flower line drawing, keep these details minimal. For a more decorative result, add additional spots while maintaining open white space.

sketch lily flower drawing
6

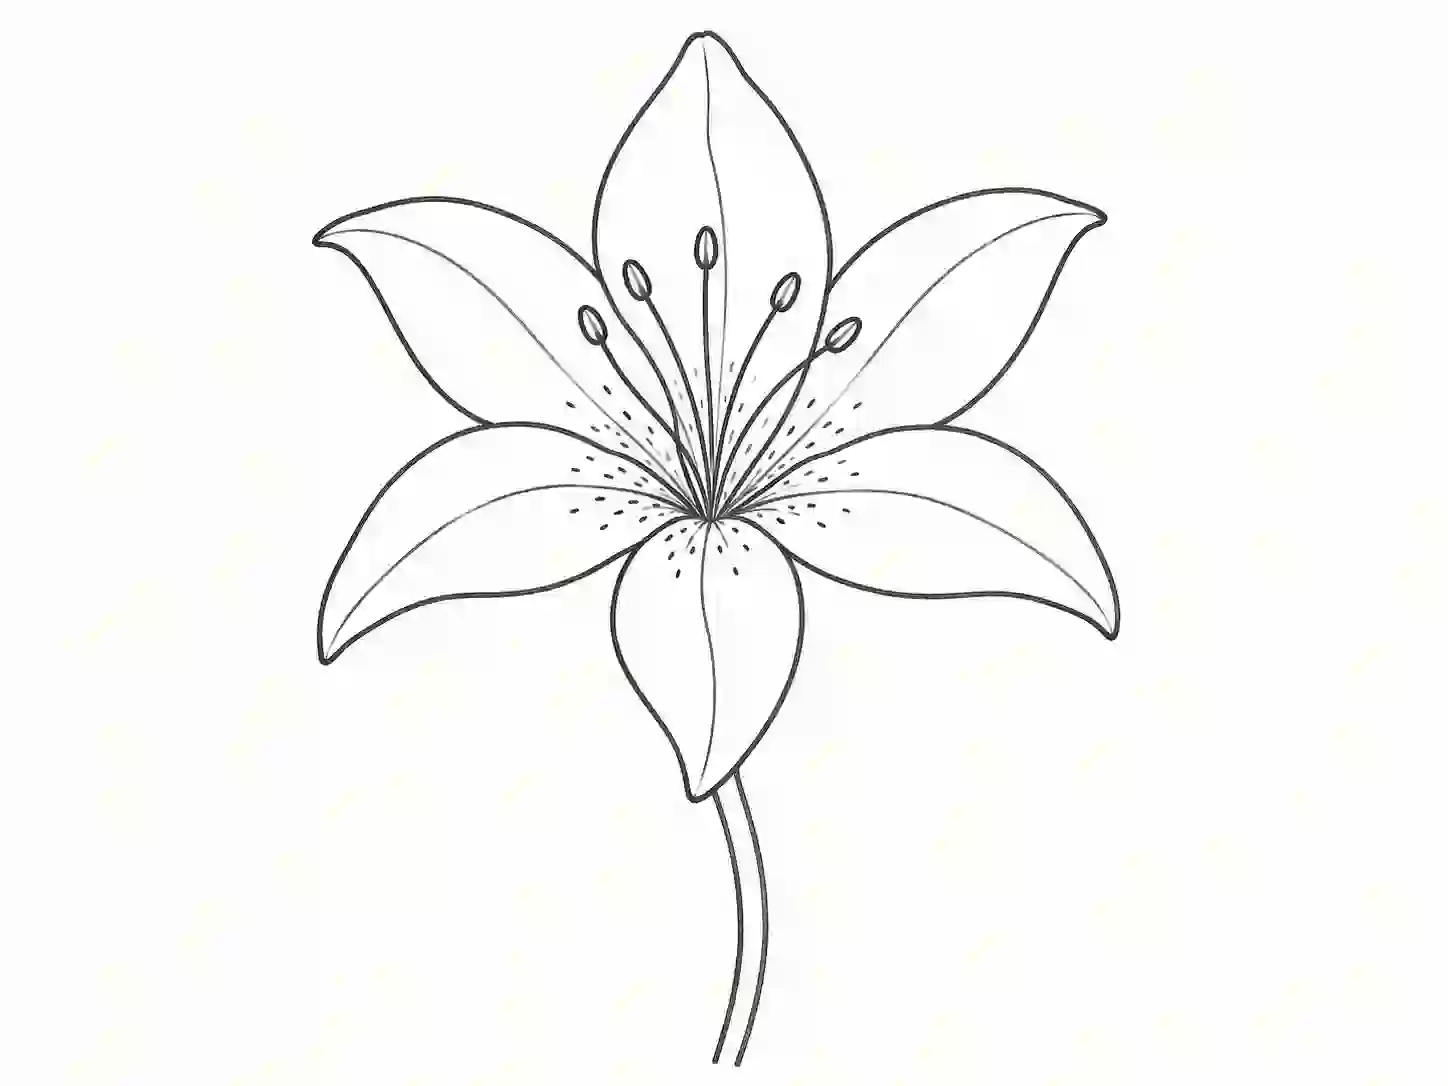
Step 6: Draw the Stem

From beneath the flower, draw two slightly curved parallel lines downward to form the stem.

The stem should be narrower than the flower but strong enough to visually support it. Avoid drawing it completely straight. A gentle curve creates a softer and more realistic composition.

Connect the upper stem behind the lower petals so that it appears attached naturally to the flower.

You can make the stem short for a small illustration or extend it farther down the page for a complete botanical-style sketch.

flower drawing lily
7

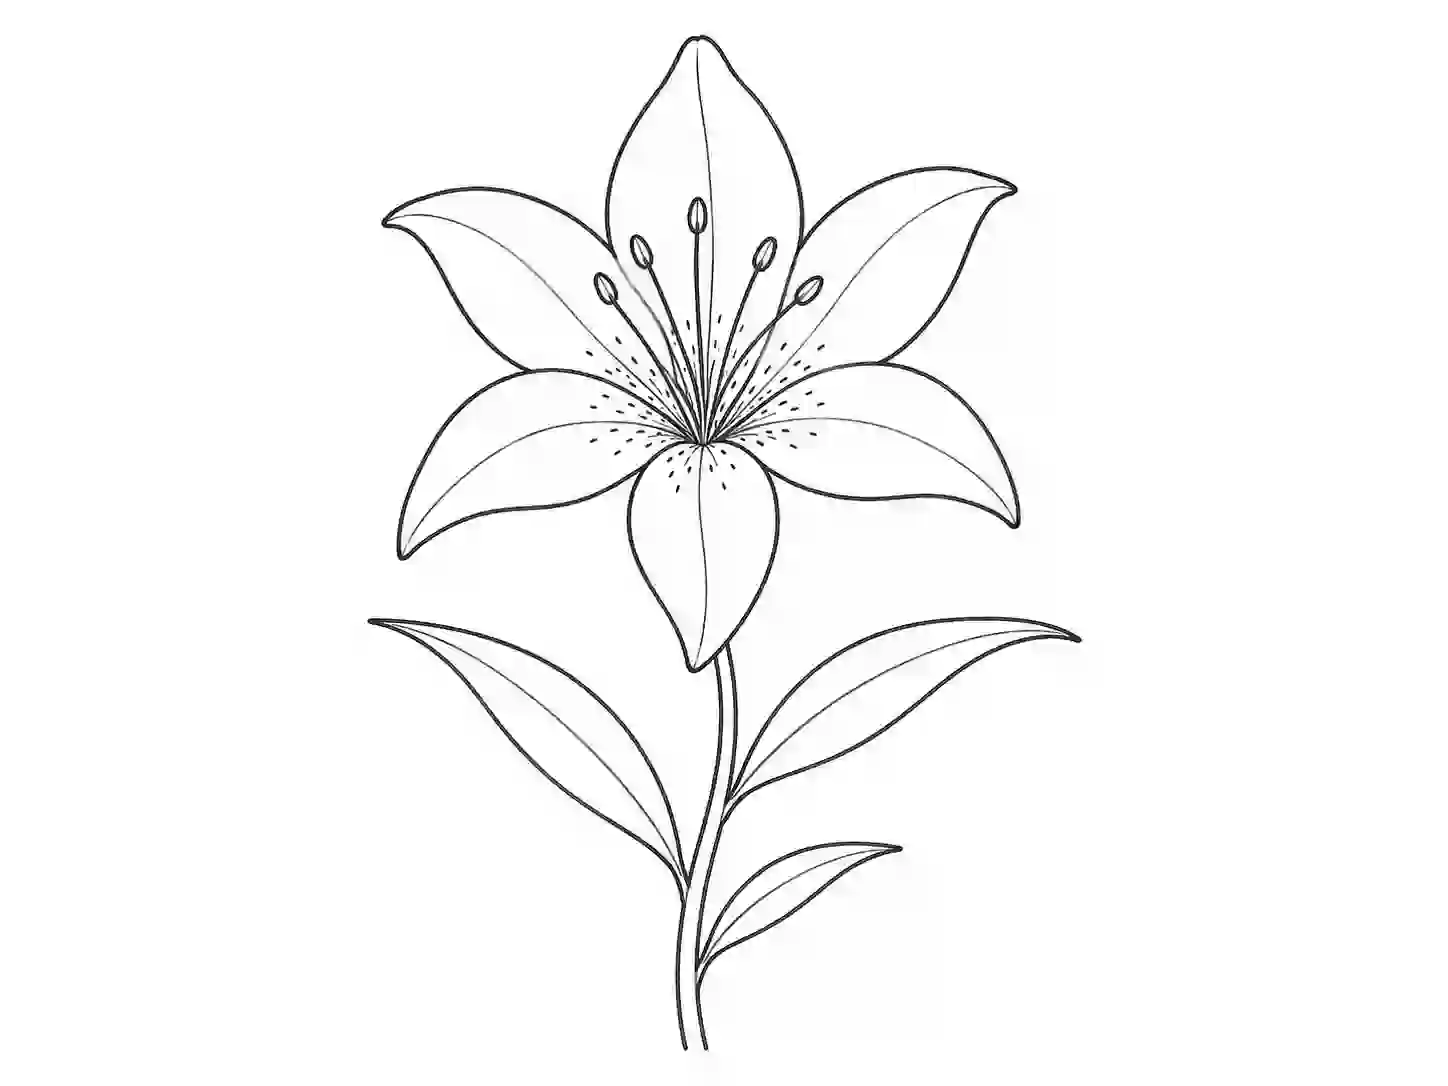
Step 7: Add the Lily Leaves

Draw two or three long, narrow leaves growing from the stem.

Lily leaves usually have pointed tips and smooth edges. Begin each leaf with one curved line, then add a second line that meets it at the pointed end.

Angle the leaves in different directions to balance the composition. One can extend toward the left, another toward the right, and a smaller leaf can appear lower on the stem.

Add a light centre vein inside each leaf when you want slightly more detail.

lily flower drawing
8

Step 8: Refine and Finish the Drawing

Review the entire drawing and erase the original guidelines that are no longer needed.

Strengthen the outer edges of the petals, stamens, stem, and leaves. Keep interior fold lines slightly lighter than the main outline.

You can leave the artwork as a lily flower pencil drawing, add soft graphite shading, or trace the final lines with a black fineliner.

Your finished artwork should now show:

  • Six open lily petals
  • Curved stamens with rounded anthers
  • Subtle petal folds or spots
  • A gently curved stem
  • Long pointed leaves

How to Create a Realistic Lily Flower Drawing

A realistic result depends more on observation and line control than on adding many small details.

Start by studying how the petals overlap. The front petals should have clearer edges, while petals positioned behind them may be partially hidden.

Use light shading near:

  • The base of each petal
  • Areas where two petals overlap
  • The centre around the stamens
  • One side of the stem
  • The base of the leaves

Blend the graphite gently so the shadows remain soft. Avoid filling entire petals with dark pencil because lilies usually have bright, delicate surfaces.

For a realistic lily drawing flower, vary the line weight. Use darker lines in shadowed areas and lighter lines along brightly lit edges.

Small changes in line pressure can make the sketch look more natural without requiring complicated techniques.

Lily Flower Easy Drawing With Colour

You can transform the pencil outline into a colourful illustration after completing all eight steps.

Pink Lily

Apply pale pink across the petals and add a slightly darker shade near the flower centre. Blend outward so the petal tips remain lighter.

Orange or Tiger Lily

Use orange on the petals, yellow near the base, and dark brown spots near the centre. A tiger lily flower drawing often looks more expressive when its markings vary in size.

White Lily

Leave most of the petals white and add very light grey, blue, or cream shadows along the folds. Use yellow or orange for the anthers.

Yellow Lily

Begin with light yellow and add golden tones close to the centre. Keep the highlights pale to preserve a soft appearance.

Red or Pink Spider Lily

A spider lily flower drawing uses thinner, more curled petals than the flower in this tutorial. The same light-sketching method can still help establish the centre and overall direction.

For a clean lily flower drawing with colour, build colour gradually instead of applying heavy pressure immediately.

Easy Lily Flower Drawing Tips

Use these suggestions to make the process smoother:

  • Draw all beginning shapes lightly.
  • Build the flower from the centre outward.
  • Check the spacing before darkening the petals.
  • Let some petals overlap to create depth.
  • Keep the stamens thin and gently curved.
  • Vary petal widths instead of copying one shape repeatedly.
  • Add only a few interior fold lines.
  • Use object-contain when displaying step images digitally so the full drawing remains visible.
  • Erase construction marks before colouring.
  • Practise the flower centre separately when it feels difficult.

These tips are especially helpful for anyone searching for a lily flower drawing easy enough to practise without advanced techniques.

Common Mistakes to Avoid

Making Every Petal Identical

Perfectly matching petals can make the flower appear mechanical. Allow small variations in width, angle, and curvature.

Drawing Dark Guidelines

Heavy starting lines are difficult to erase. Keep the first oval and petal guides faint.

Placing Stamens Outside the Centre

The stamens should originate from the central area, even when they bend in different directions.

Using Straight Petal Edges

Lily petals should feel soft and flexible. Curved edges create a more natural result than rigid straight lines.

Cropping the Flower Accidentally

Before starting, leave blank space around the central oval. This prevents the top or side petals from reaching the edge of the paper.

Adding Too Much Shading

Dark shadows across every petal can remove the flower’s delicate appearance. Concentrate shading near folds and overlapping areas.

Simple Lily Flower Drawing Variations

After completing the main tutorial, you can use the same basic construction to explore other lily-inspired subjects.

Calla Lily Flower Drawing

A calla lily has one large folded shape surrounding a central spadix. It requires fewer petals and works well as a minimalist line illustration.

Water Lily Flower Drawing

A water lily usually has several layers of shorter pointed petals. It may be placed above a round lily pad and reflected in water.

Lily Pad With Flower Drawing

Draw a wide circular pad with a small section missing from one side. Position a water lily above it and add gentle ripple lines around the pad.

Lily of the Valley Flower Drawing

Lily of the valley looks very different from an open lily. It has a curved stem with several small bell-shaped flowers hanging from it.

White Lily Flower Drawing

Use clean outlines and very light grey shadows. Colour the stamens yellow or orange so they remain visible against the pale petals.

Small Lily Flower Drawing

Use fewer interior details and simplify the stamens. A compact design is suitable for cards, notebook borders, worksheets, and small decorative projects.

These subjects should eventually have their own tutorials, like the easy rose drawing, when you want to cover their full drawing process in detail.

Lily Flower Outline Drawing

An outline version is useful for colouring pages, tracing exercises, worksheets, and classroom activities.

To create a clear lily flower drawing outline:

  • Remove most interior shading
  • Keep the outside petals bold and clean
  • Use thin lines for the stamens
  • Add only essential petal folds
  • Leave large open spaces for colouring
  • Keep the stem and leaves easy to recognise

You can print the outline and practise different colour combinations without redrawing the flower each time.

Printable Flower Drawing Lily Worksheet

A printable worksheet can make the tutorial easier to follow, especially for younger learners and complete beginners.

The worksheet should contain:

  • Eight numbered drawing stages
  • Large clear step images
  • A finished lily reference
  • Space for tracing or practice
  • A clean black-and-white layout
  • A4 or US Letter-friendly proportions

Print the worksheet at actual size and begin with a pencil. Complete each step lightly before strengthening the final outline.

Teachers can also use the worksheet during art lessons, spring activities, flower units, or quiet classroom practice.

Creative Ways to Use Your Lily Drawing

Your finished artwork can be used for:

  • Handmade greeting cards
  • School art assignments
  • Floral posters
  • Printable colouring pages
  • Journal decorations
  • Botanical sketchbooks
  • Wall art
  • Gift tags
  • Tattoo concept practice
  • Digital drawing exercises

A lily flower tattoo drawing usually uses clean flowing outlines and simplified shading. For personal tattoo artwork, work with a professional artist who can adapt the design safely for placement and size.

Frequently Asked Questions

Yes. Beginners can draw a lily by starting with a small central shape and adding the petals one at a time. Light guidelines make corrections easier.

Many recognisable lily illustrations show six large petal-like sections. Their shapes and angles do not need to be perfectly identical.

Use overlapping petals, curved stamens, varied line weight, and soft shadows near the flower centre and petal folds.

Lilies can be coloured white, pink, yellow, orange, red, or combinations of these shades. Some varieties also have visible spots near the centre.

Yes. A pencil sketch can be completed with outlines, light shading, and darker details around the folds, stamens, stem, and leaves.

A common lily grows on a stem with long leaves, while a water lily has several layered petals and usually floats above a lily pad.

Remove most shading and inner texture. Keep the six petals, stamens, stem, and leaves as clean open shapes suitable for tracing or colouring.

A basic version may take 10–15 minutes. A more detailed coloured or realistic version may take longer, depending on the amount of shading and texture added.

Final Thoughts

Learning how to draw a lily becomes much easier when the flower is divided into a centre, six petals, stamens, a stem, and narrow leaves. The process does not require perfect symmetry or advanced shading.

Complete the eight stages slowly, keep early lines light, and refine the drawing only after the main proportions feel balanced. You can then leave it as a simple outline, create a detailed sketch, or add colour inspired by pink, orange, yellow, or white lilies.

With regular practice, you will become more confident drawing curved petals, overlapping shapes, and realistic flower details.