

1
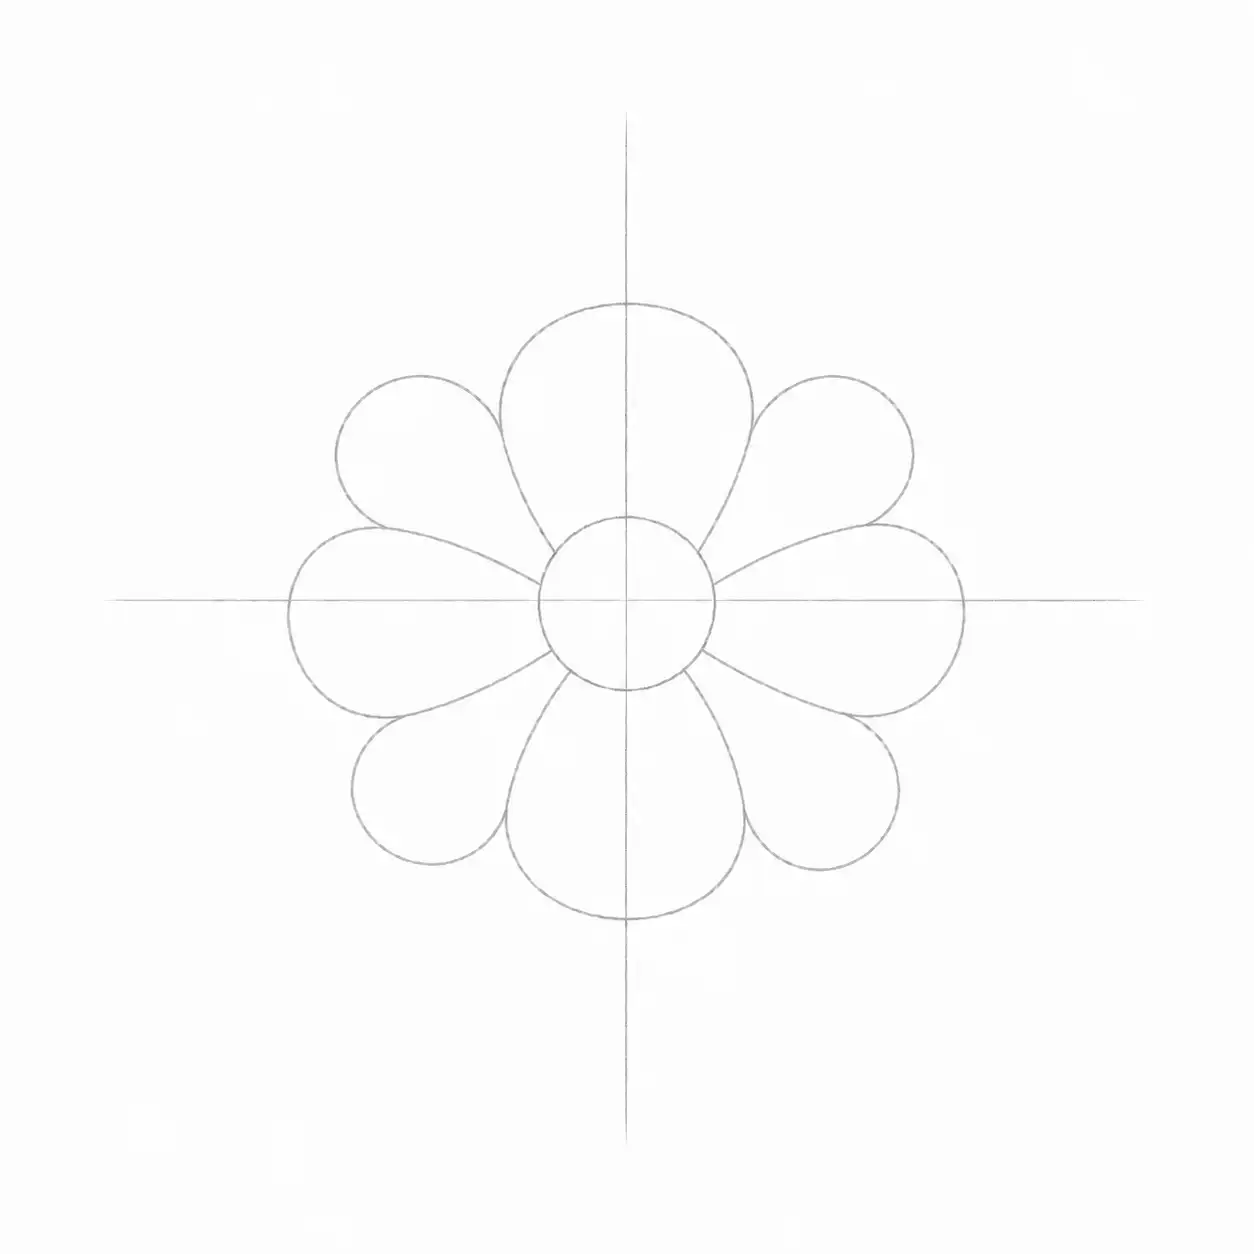
Step 1: Mark the Flower Center
Begin with a small circle or oval. This shape will act as the center and help you decide the size and position of the flower.
Keep the line light so it can be adjusted later.
FlowerDrawings.org
A flower drawing does not have to begin with a complicated sketch. A few light lines, basic shapes, and simple petal forms are often enough to create something beautiful.
This collection is made for beginners, students, kids, and anyone who wants to enjoy drawing flowers without feeling overwhelmed. You can start with a basic flower drawing, follow a clear step-by-step process, and practice at your own pace using printable worksheets.
Whether you want to create a quick pencil sketch, a simple floral design, or a detailed flower with a stem and leaves, you will find approachable ideas and visual tutorials to help you get started.
An easy drawing of a flower usually begins with familiar shapes such as circles, ovals, curved lines, and soft pointed forms. These shapes create the center, petals, stem, and leaves before any detail is added.
You do not need to make every line perfect. Flowers naturally vary in shape, size, and direction, so small differences can make your drawing feel more organic.
Start with a light pencil outline and focus on the overall form. Once the basic structure looks balanced, refine the petals, clean up extra guidelines, and add simple details.
Our step-by-step flower drawing tutorials are arranged to make the process easy to follow. Each guide includes a completed drawing, clear visual steps, beginner-friendly instructions, and a downloadable practice worksheet where available.
You can keep your flower drawing simple for a quick activity or follow a more detailed tutorial when you are ready for an extra challenge. Many learners begin with a rose drawing or a tulip drawing before trying wider open blooms.
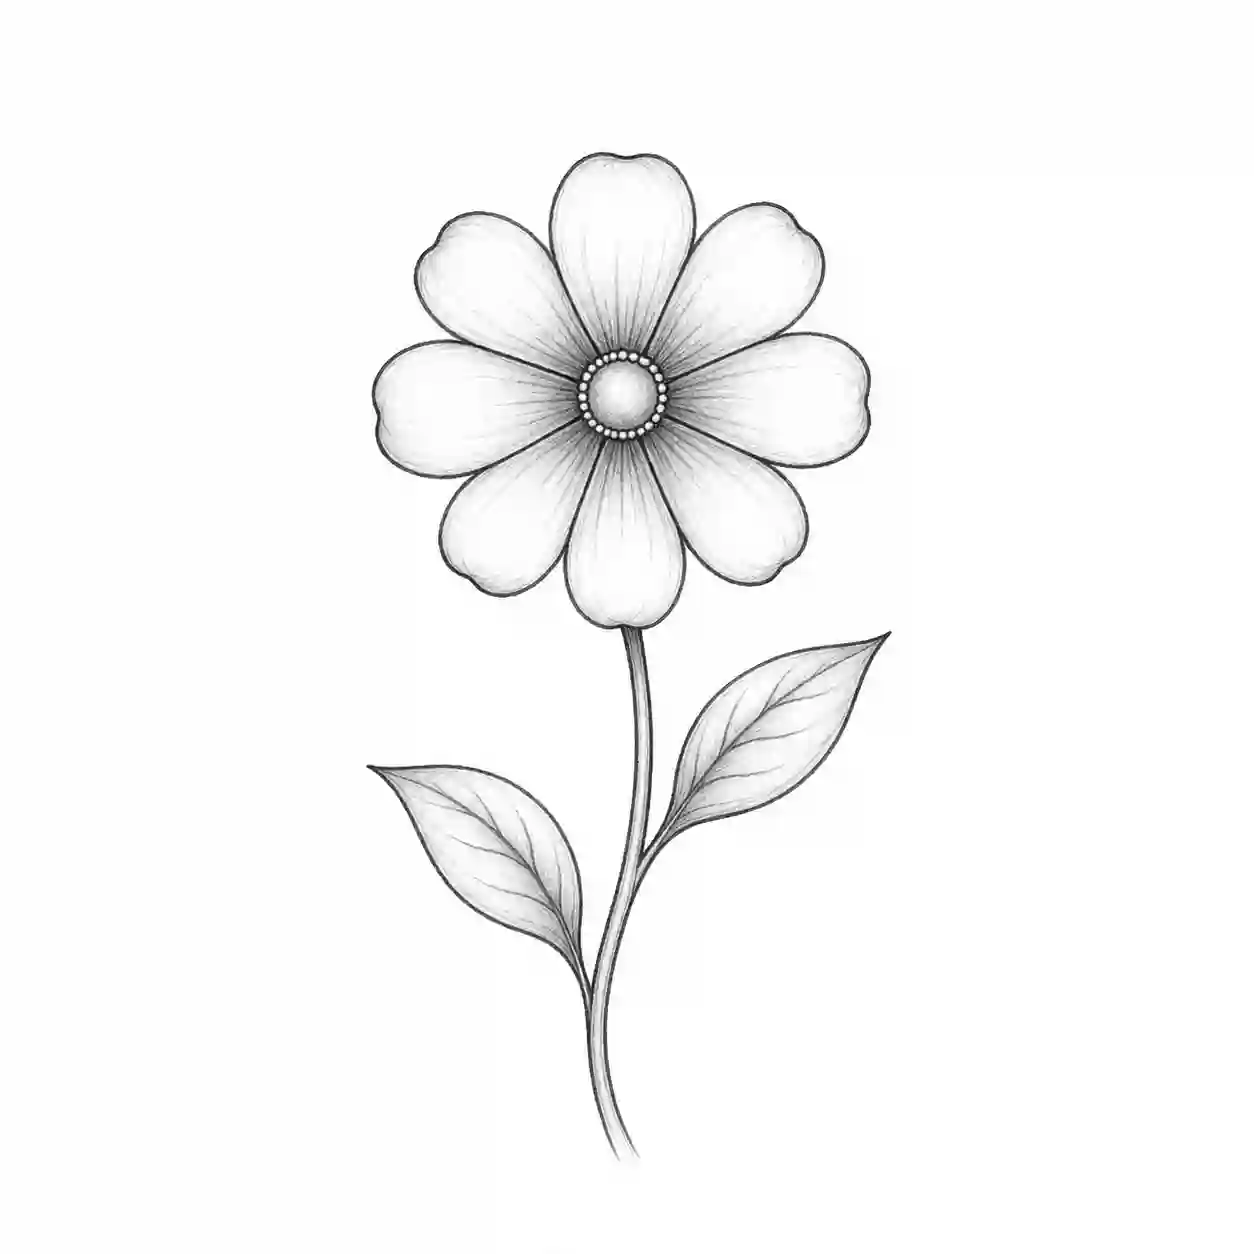
Most flowers can be broken into a few manageable parts. The exact petal shape may change, but the basic drawing process often remains similar.
Begin with a small circle or oval. This shape will act as the center and help you decide the size and position of the flower.
Keep the line light so it can be adjusted later.

Draw a few petals around the center. Instead of trying to complete the whole flower at once, place the first petals at different points to establish the overall shape.
Petals can be rounded, pointed, narrow, wide, or slightly folded.
Add more petals between the first set. Allow some petals to overlap so the flower does not look flat or overly symmetrical.
The petals do not need to be identical. Small variations make the drawing more natural.
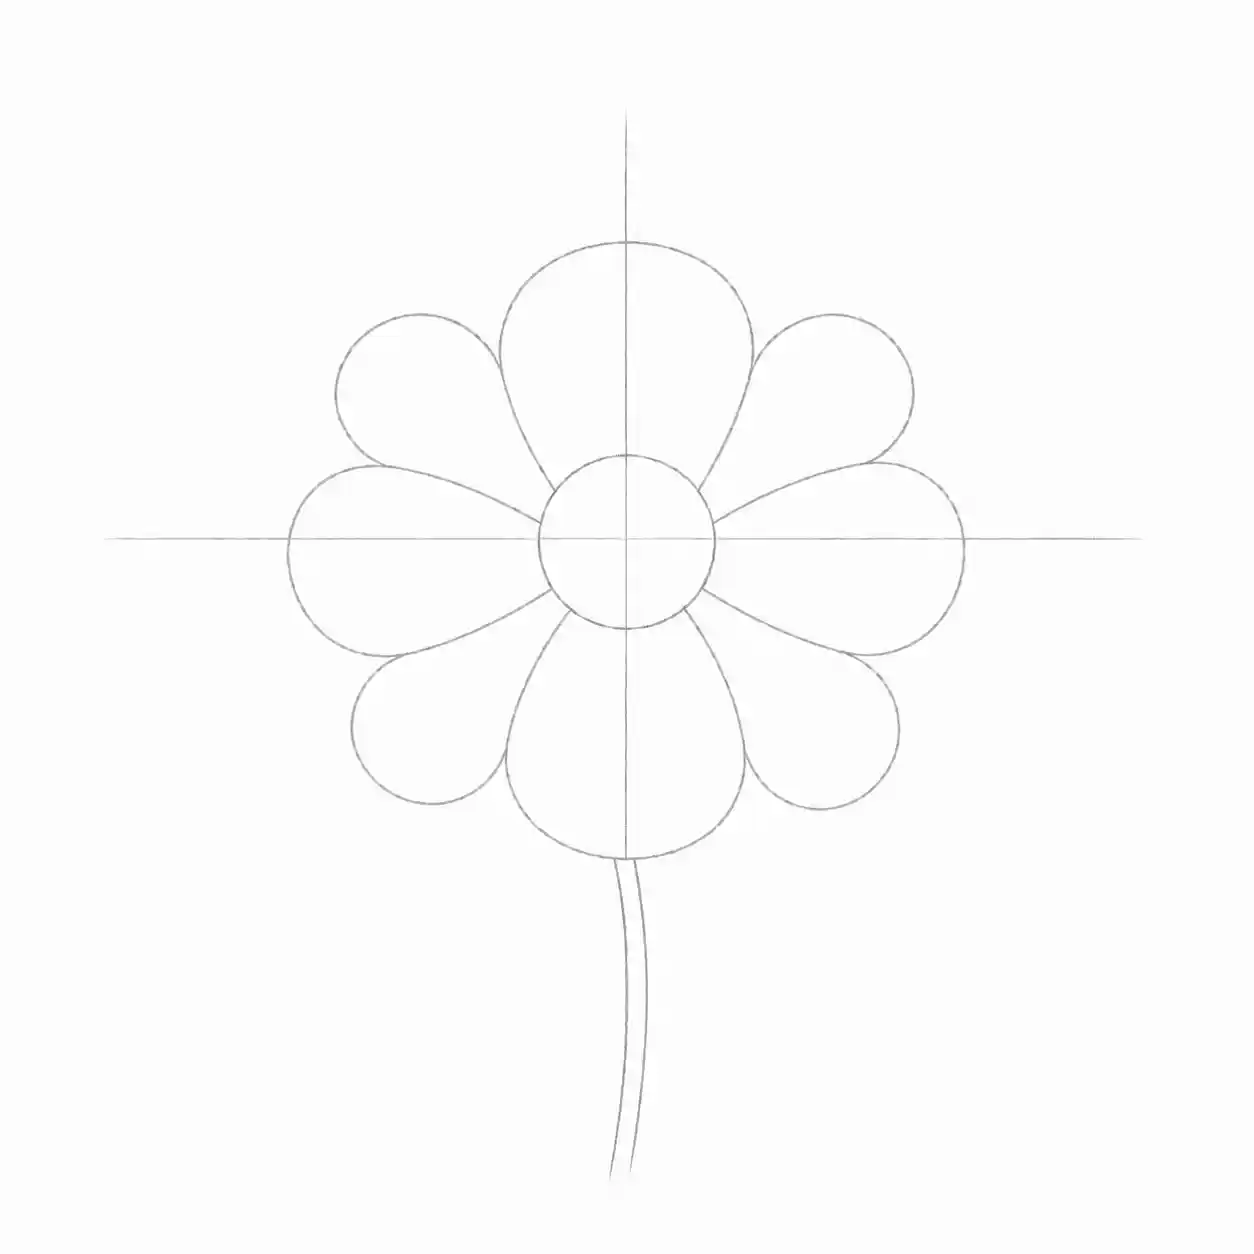
Add two light lines extending downward from the flower. Keep them close enough to form a slender stem.
A slightly curved stem often looks softer than a completely straight one.
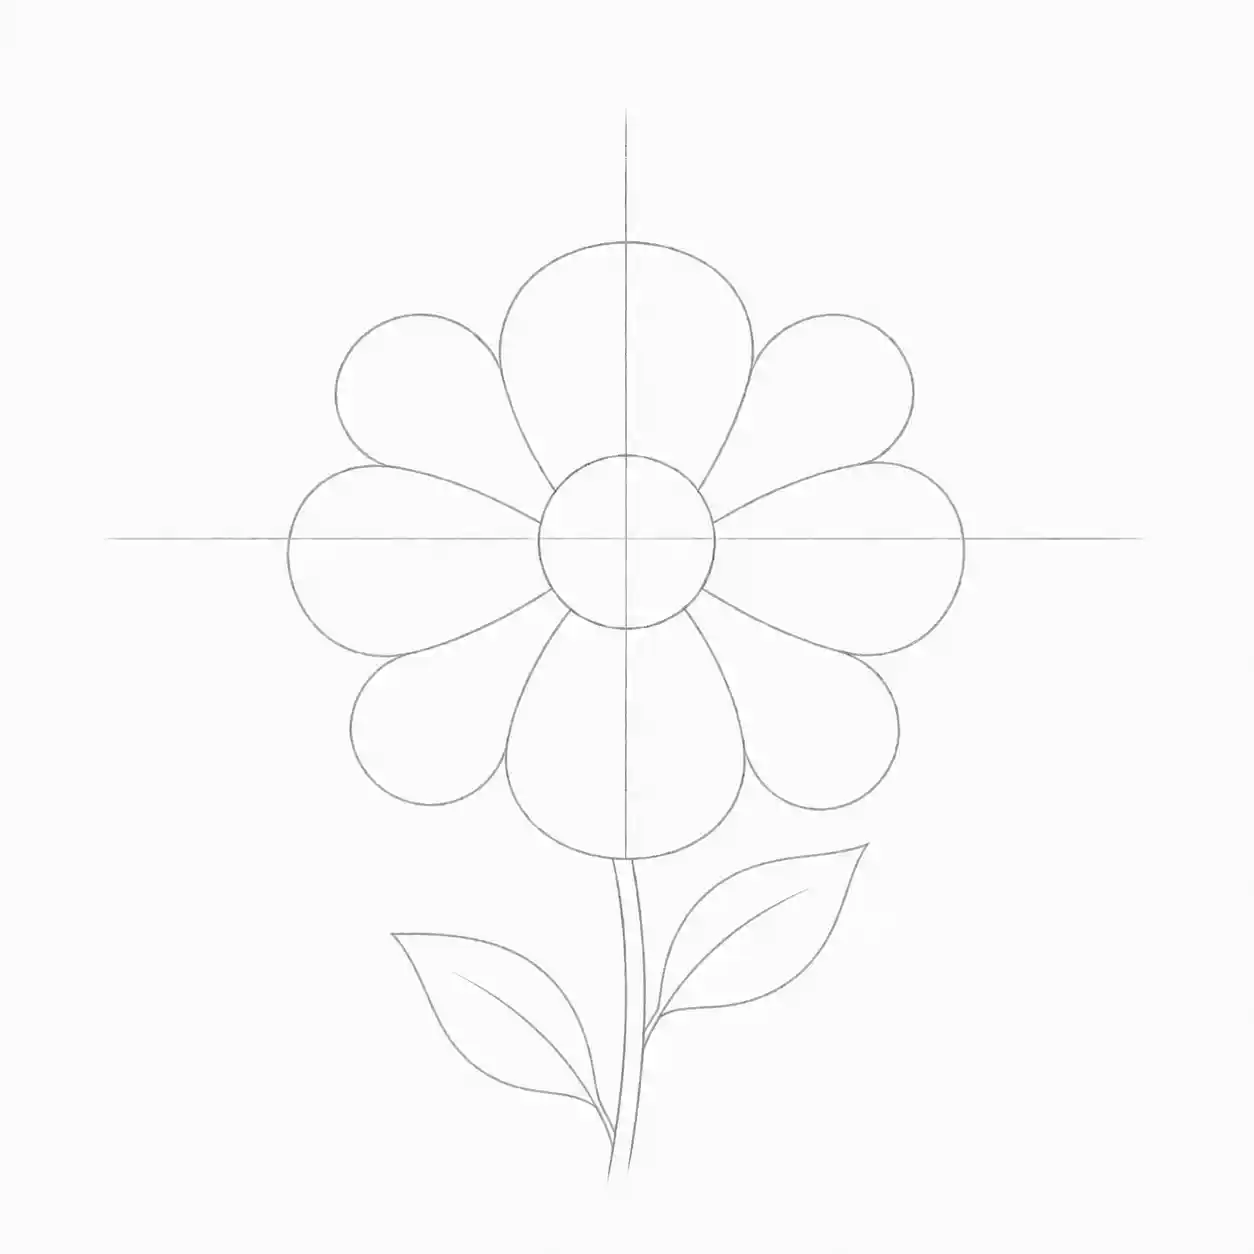
Draw one or more leaves along the stem. Begin with a center line, then build the outer leaf shape around it.
Leaves may be long, rounded, pointed, smooth, or gently uneven.
Look over the complete sketch and adjust any flower shapes that feel too narrow, wide or uneven.
Finish the drawing with light pencil shading, colored pencils, markers, or another medium you enjoy.
Place darker values near overlapping petals and underneath the flower center. Leave some areas lighter to create contrast.
Not every practice session needs a complicated subject. Short drawing exercises are useful for improving line control, proportion, and confidence.
Try these approachable ideas in your sketchbook:
Draw a small center and place five rounded petals around it. Add a stem and two simple leaves.
This is a good starting point for anyone making a very simple drawing.
Instead of showing every petal from the front, draw the flower from the side. Use a curved cup-like shape for the bloom and connect it to a gently bending stem.
Create four or six wide petals around a visible center. Large petals provide more room for shading, patterns, and color.
Draw several small flowers close together. Vary their sizes and directions to create a loose floral arrangement.
Combine one main flower with a longer stem, several leaves, smaller buds, and lines suggesting new growth.
Use light construction lines first, then build darker contours and soft shading. Focus on line weight rather than adding color.
Beginners often make the process harder by trying to draw every detail immediately. A better approach is to work from large shapes toward smaller ones.
Begin by observing the direction of the flower. Is it facing forward, leaning to one side, or turning upward? Next, look at the center, the outer edge of the petals, and the way the stem connects to the bloom.
Use these simple habits while practicing:
A finished drawing may look detailed, but its structure is usually based on a small group of simple forms.
The flower center may begin as a circle or oval. Petals are created with curved lines, teardrop shapes, or pointed forms. Stems are built with parallel lines, while leaves often start with a center guideline and an outer contour.
Our flowers simple drawing exercises are designed to help beginners understand petals, centers, stems, and leaves through basic shapes.
Pay attention to the following elements:
Look at the overall silhouette before focusing on small details. A clear outer shape helps the flower remain readable.
Compare the width of the flower to the length of the stem and the size of the leaves. These relationships help the drawing feel balanced.
Allow some petals and leaves to sit in front of others. Overlapping shapes create depth without requiring advanced shading.
Use light lines for early construction and darker lines for the final outline. Varying line strength can separate important edges from smaller details.
Short strokes, dots, curves, and fine lines can suggest pollen, veins, folds, and surface detail.
Choose a general direction for the light. Add darker marks where petals overlap, where the center meets the petals, and where leaves join the stem.
These basic drawing ideas can be used in simple sketches, floral illustrations, greeting-card designs, worksheets, and more detailed pencil artwork.
Pencil is a flexible choice for drawing because it allows you to build the image gradually.
Start with gentle pressure and make loose marks. At this stage, you are deciding where the flower will sit on the page and how large it will be.
Once the proportions feel right, define the petal edges and erase the lines that are no longer needed. Add darker strokes near overlapping forms and use softer marks in lighter areas.
For a beginner-friendly pencil drawing, keep the shading simple. You can use:
Avoid pressing too hard during the first sketch. Heavy lines can be difficult to remove and may make the final drawing look stiff.
A regular graphite pencil, eraser, smooth paper, and pencil sharpener are enough for most basic practice sessions.
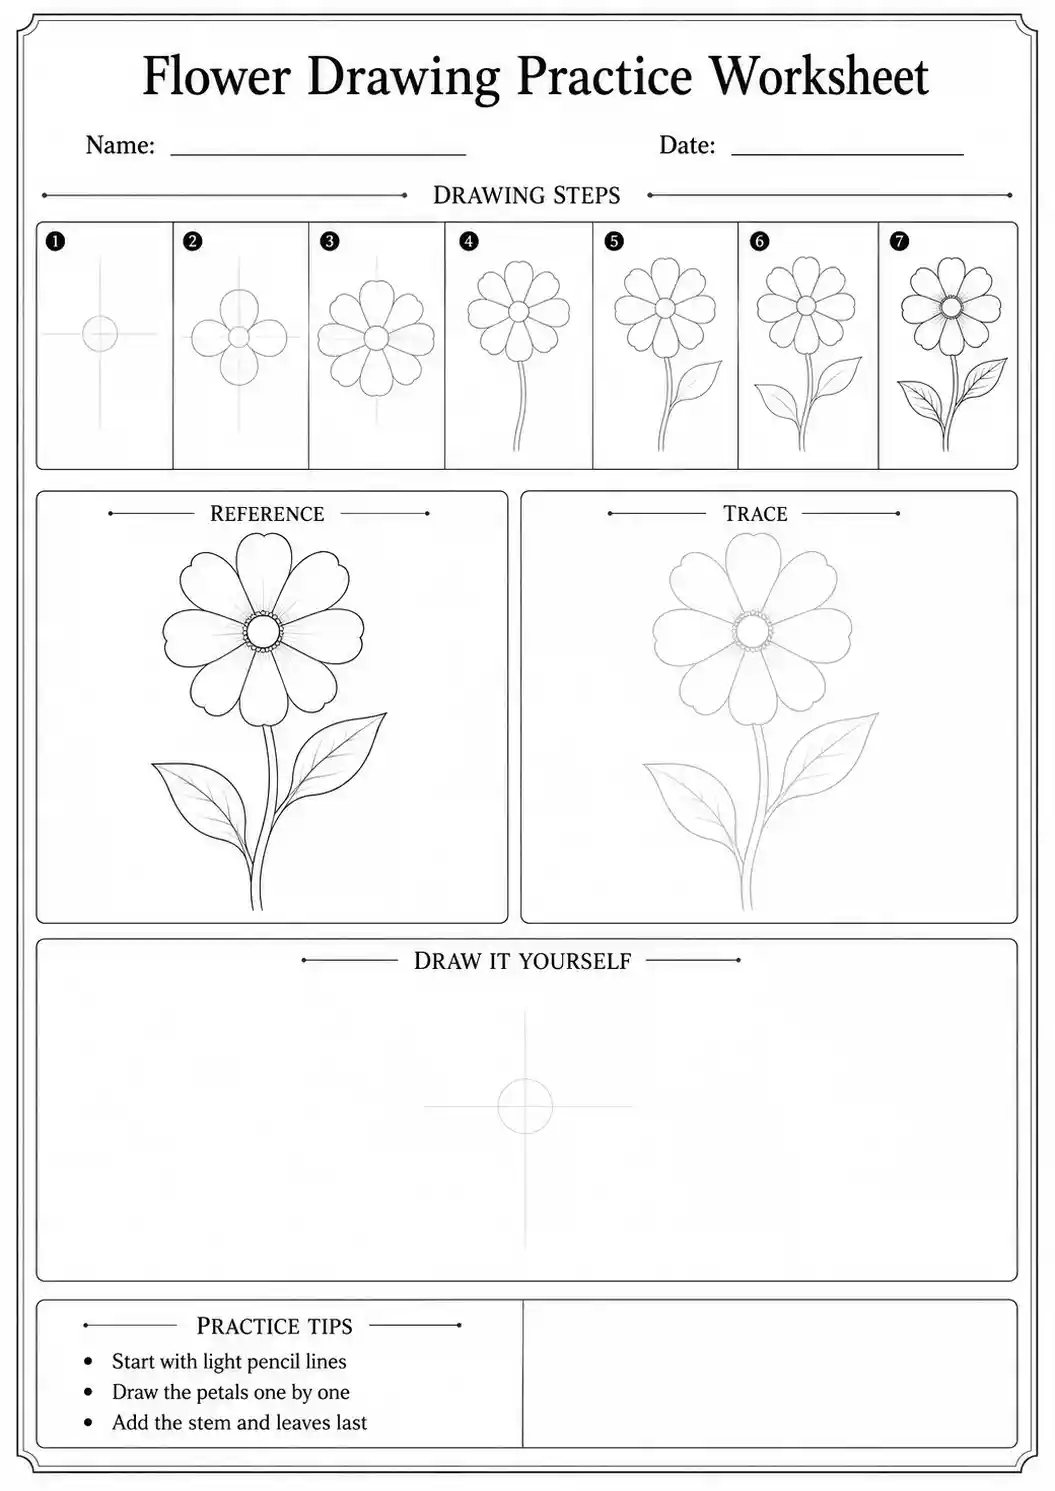
These flowers for drawing worksheets provide clear reference pictures, tracing outlines, and blank areas for independent practice.
Our downloadable flower drawing worksheets are designed to support hands-on practice. Each worksheet include:
You can print a worksheet and draw directly on the page or keep the finished picture beside your sketchbook as a reference.
Tracing can help you understand the movement of a line, but try drawing the same flower again without tracing. This turns a guided activity into an independent drawing exercise.
Choose a simple floral drawing that matches your current skill level and the amount of detail you want to practice.
Each flower step by step drawing uses clear outlines and a short sequence that beginners can follow at their own pace.
Beginner tutorials introduce overlapping petals, leaves, stems, and light details while keeping the process manageable.
These drawings may include more petals, angled views, layered forms, pencil shading, or a complete flower plant.
You can repeat an easy tutorial several times before moving to the next level. Improvement often comes from practicing familiar shapes rather than constantly choosing a new subject.
The goal is not to produce a perfect picture on the first attempt. Each sketch helps you become more comfortable with lines, shapes, observation, and proportion.
Browse our growing collection of individual flower tutorials. Each post focuses on one flower and includes a finished reference, visual drawing steps, simple instructions, practice tips, and a printable worksheet where available. You can practise a sunflower drawing, a hibiscus flower drawing, a lily flower drawing, a peony drawing, an orchid drawing, a lotus flower drawing, or a daisy drawing using the same beginner-friendly approach.
New tutorials will be added regularly, giving you more petal shapes, plant forms, sketching ideas, and floral designs to explore.
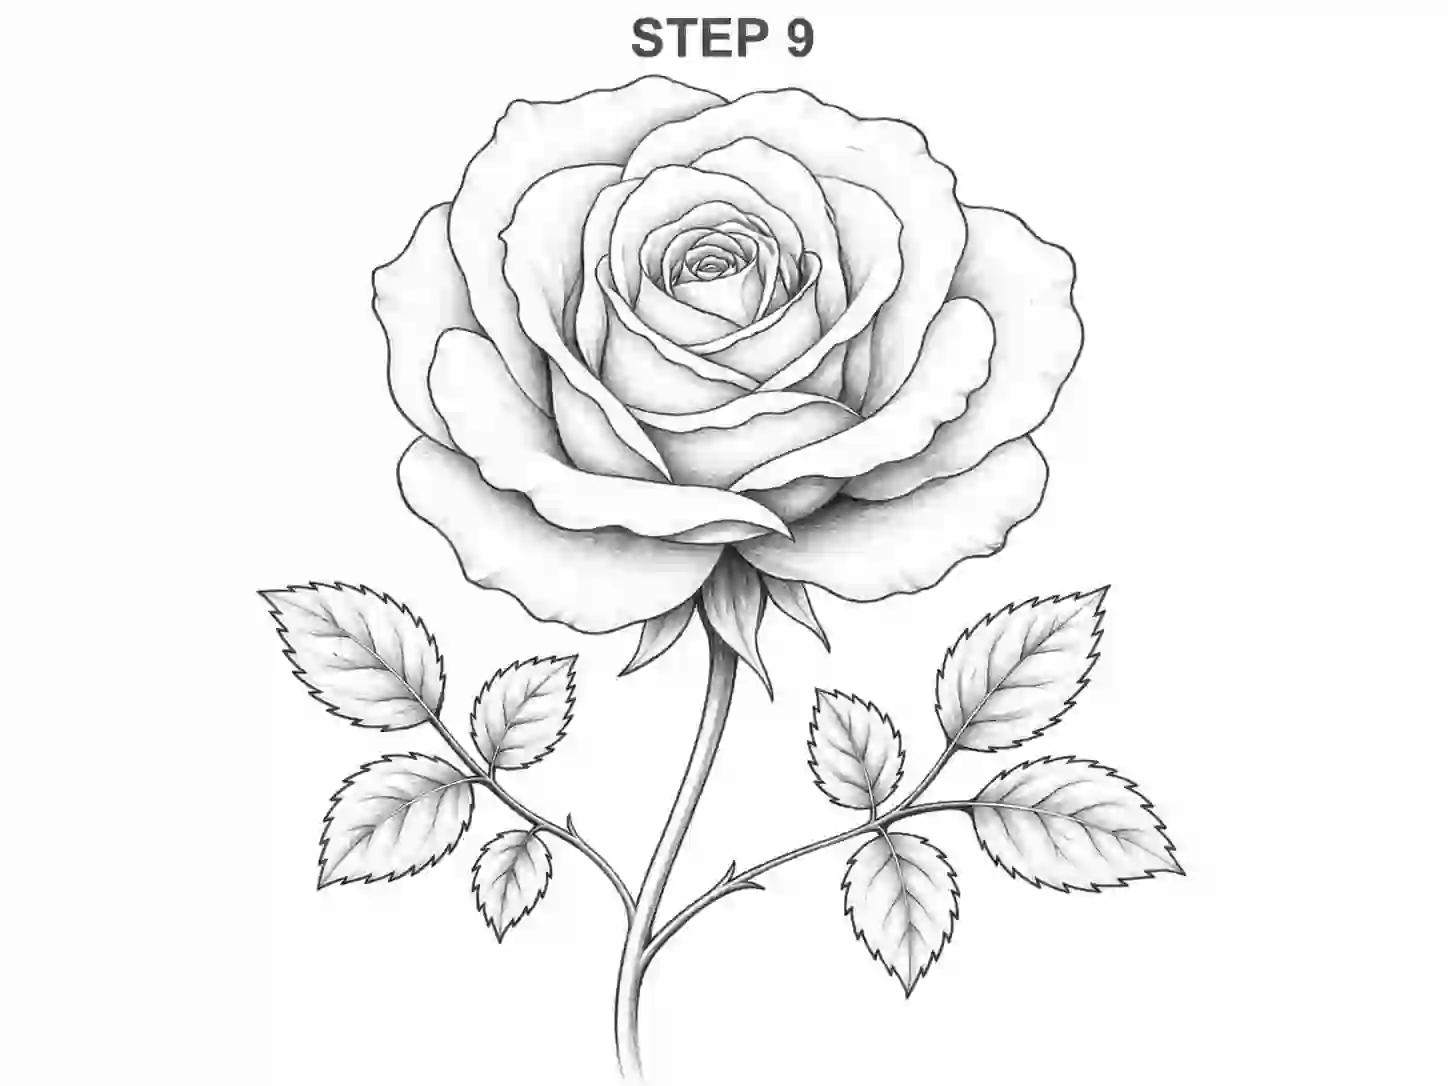
A rose may look complicated because its petals overlap and curl in different directions, but the basic structure is easier to understand when you draw it one layer at a time.
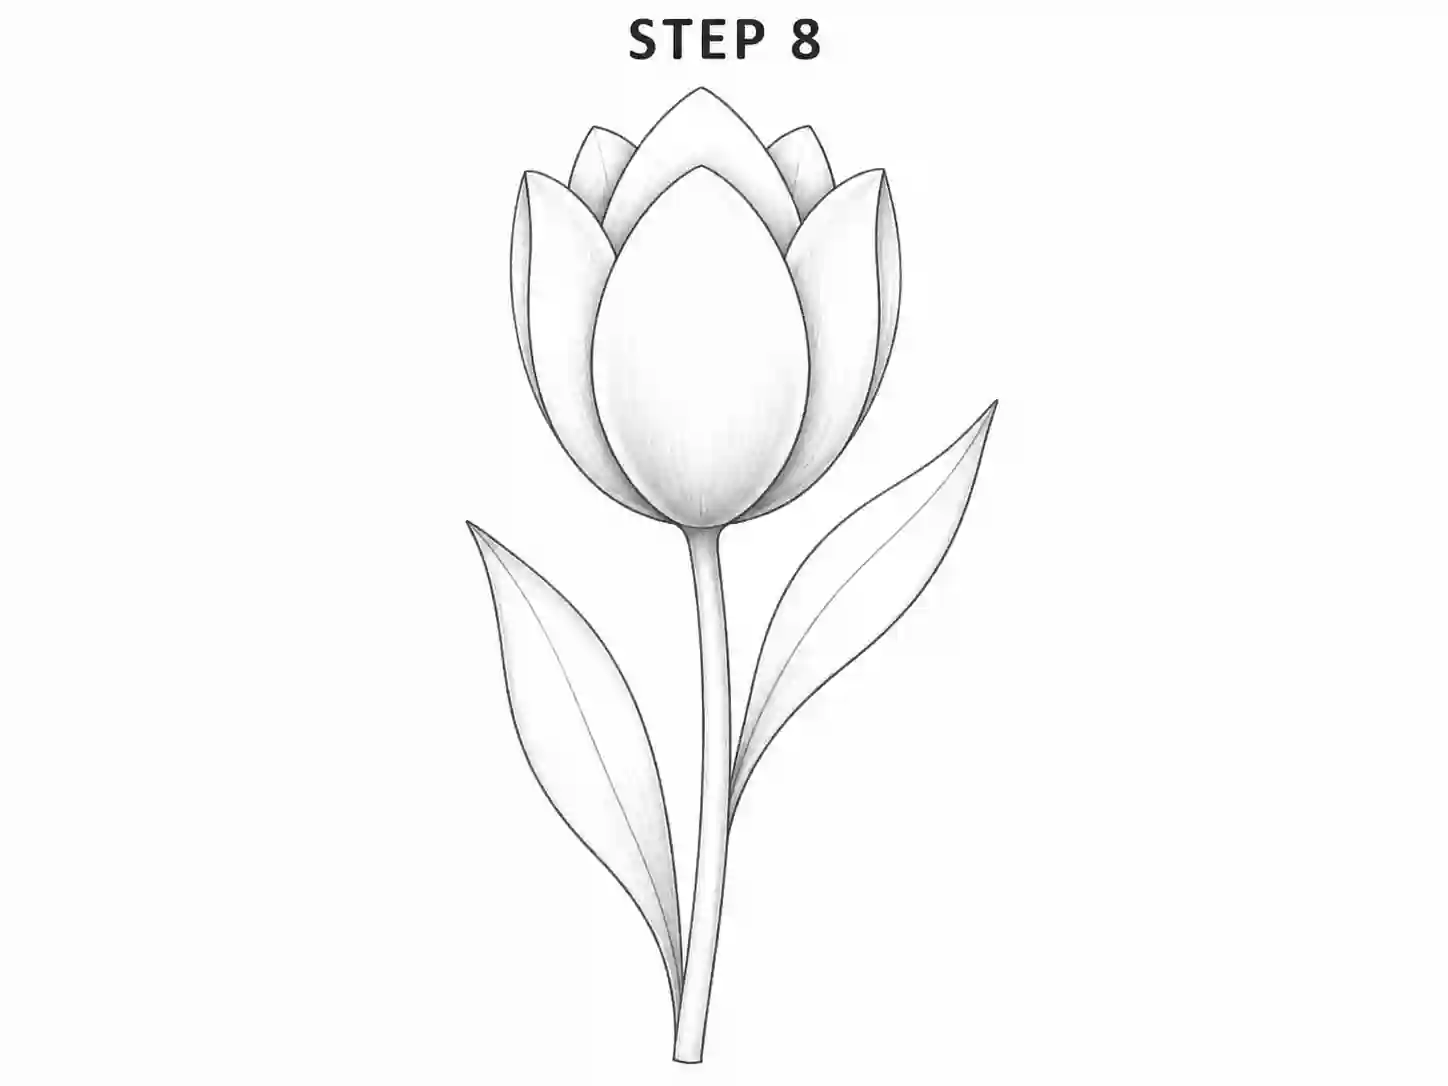
A tulip has a clean, recognizable shape that makes it a good subject for beginners. Its flower head can be simplified into a rounded cup, while the stem and long leaves are created with smooth curved lines.
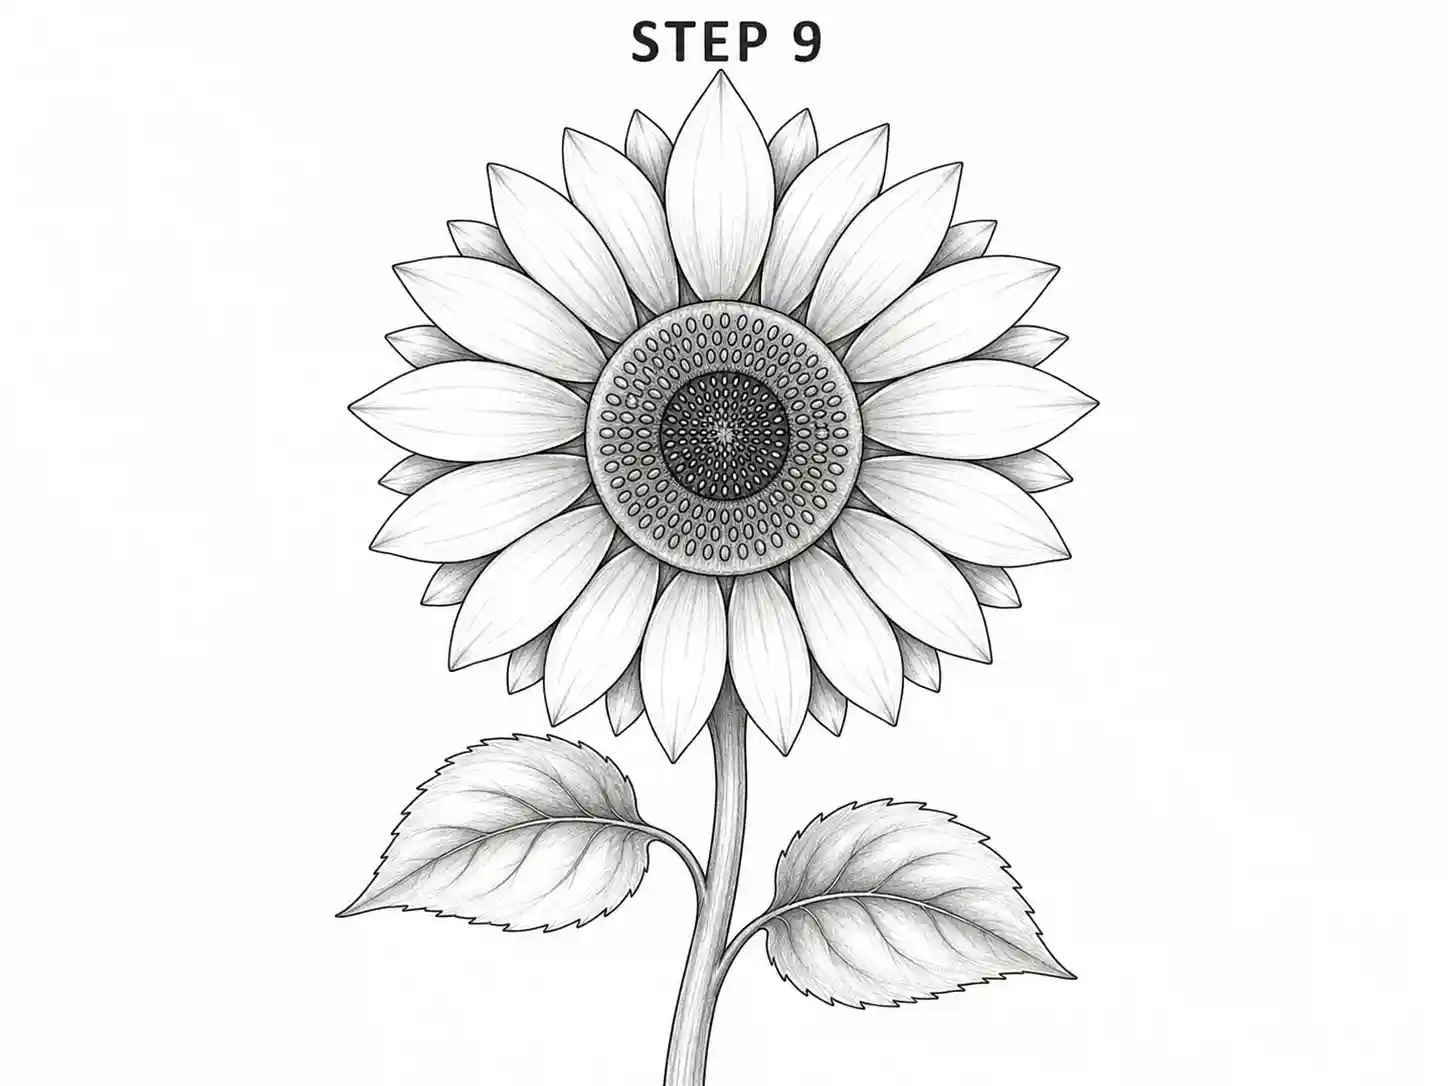
A sunflower is an enjoyable subject for beginners because its main structure is built from clear shapes: a round center, long petals, a sturdy stem, and broad leaves. Once these parts are placed correctly, a sunflower drawing can be developed with texture, shading, and color.
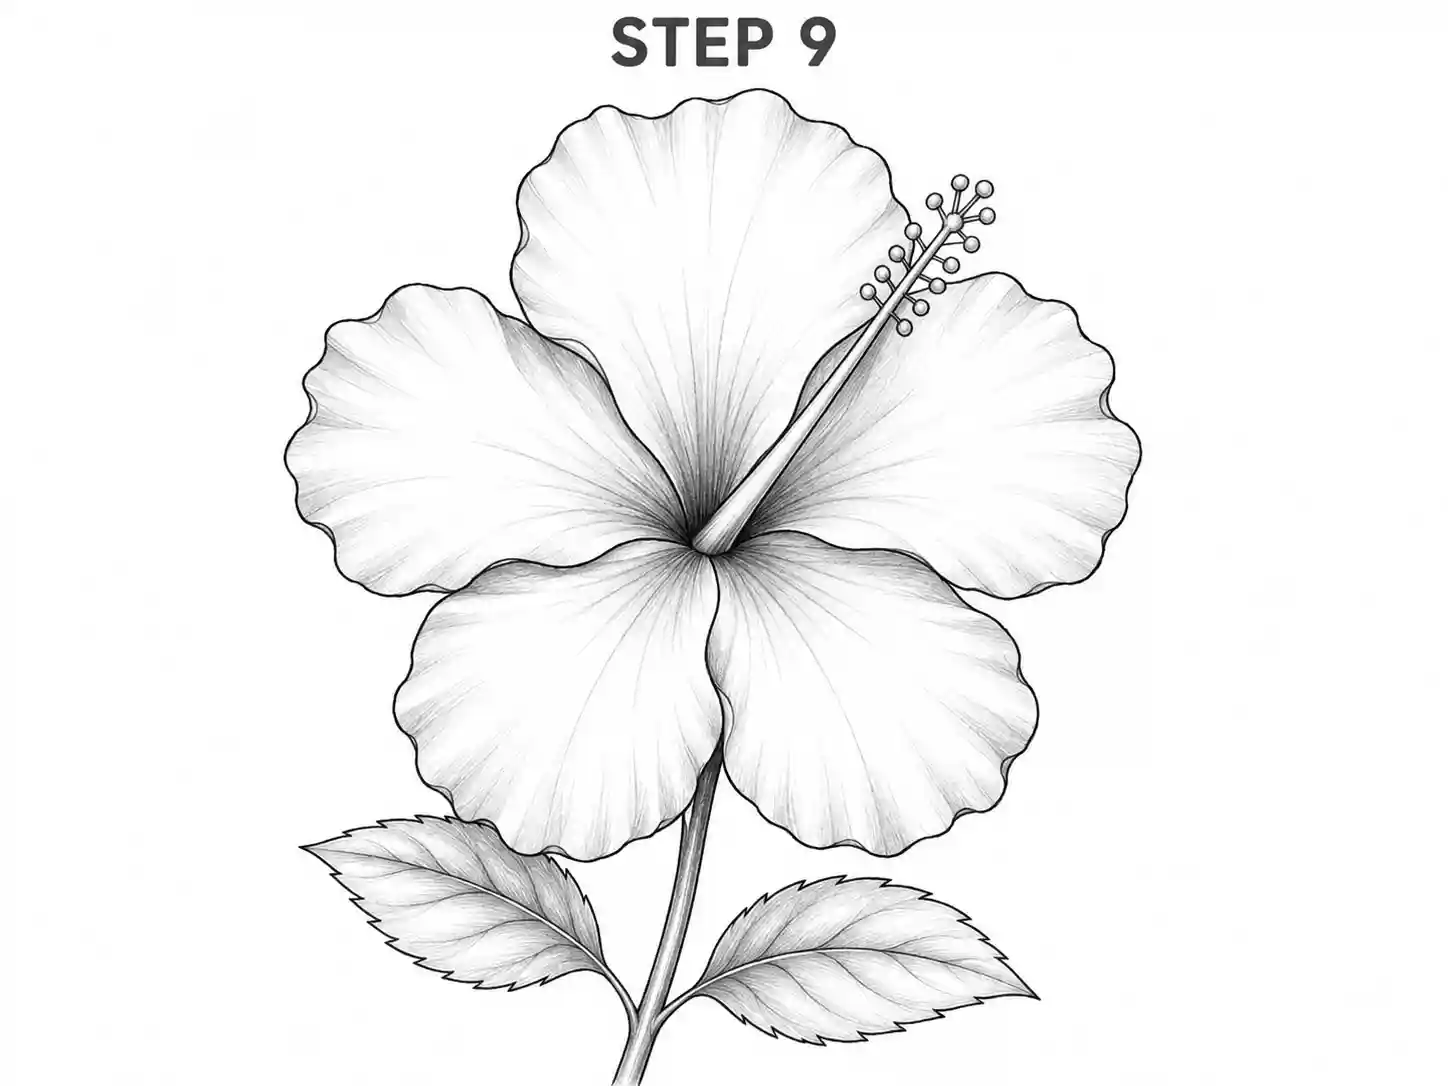
A hibiscus is one of the most recognizable flowers to sketch because of its wide petals, trumpet-like shape, and long stamen extending from the center. Although the bloom contains several details, a hibiscus flower drawing becomes much easier when you first understand its main shapes.
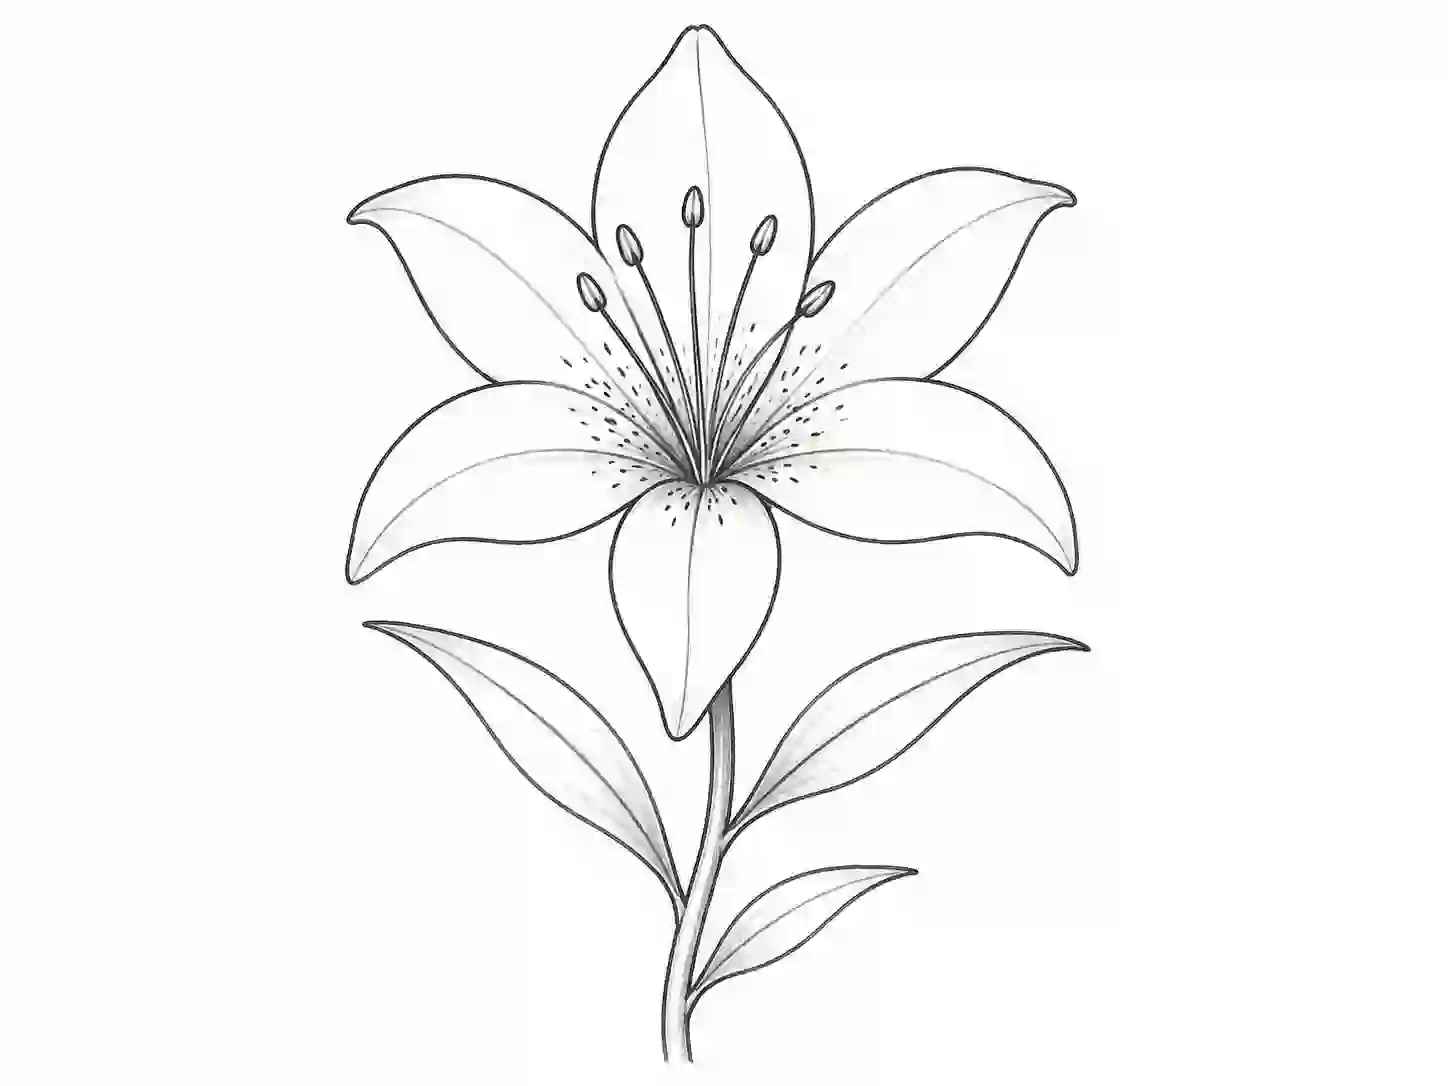
A lily may look detailed because of its curved petals, long stamens, and narrow leaves, but the flower becomes much easier to draw when you separate it into basic shapes. This beginner-friendly lily flower drawing tutorial will guide you through the complete process, from the first light guidelines to the final outline and optional colour.
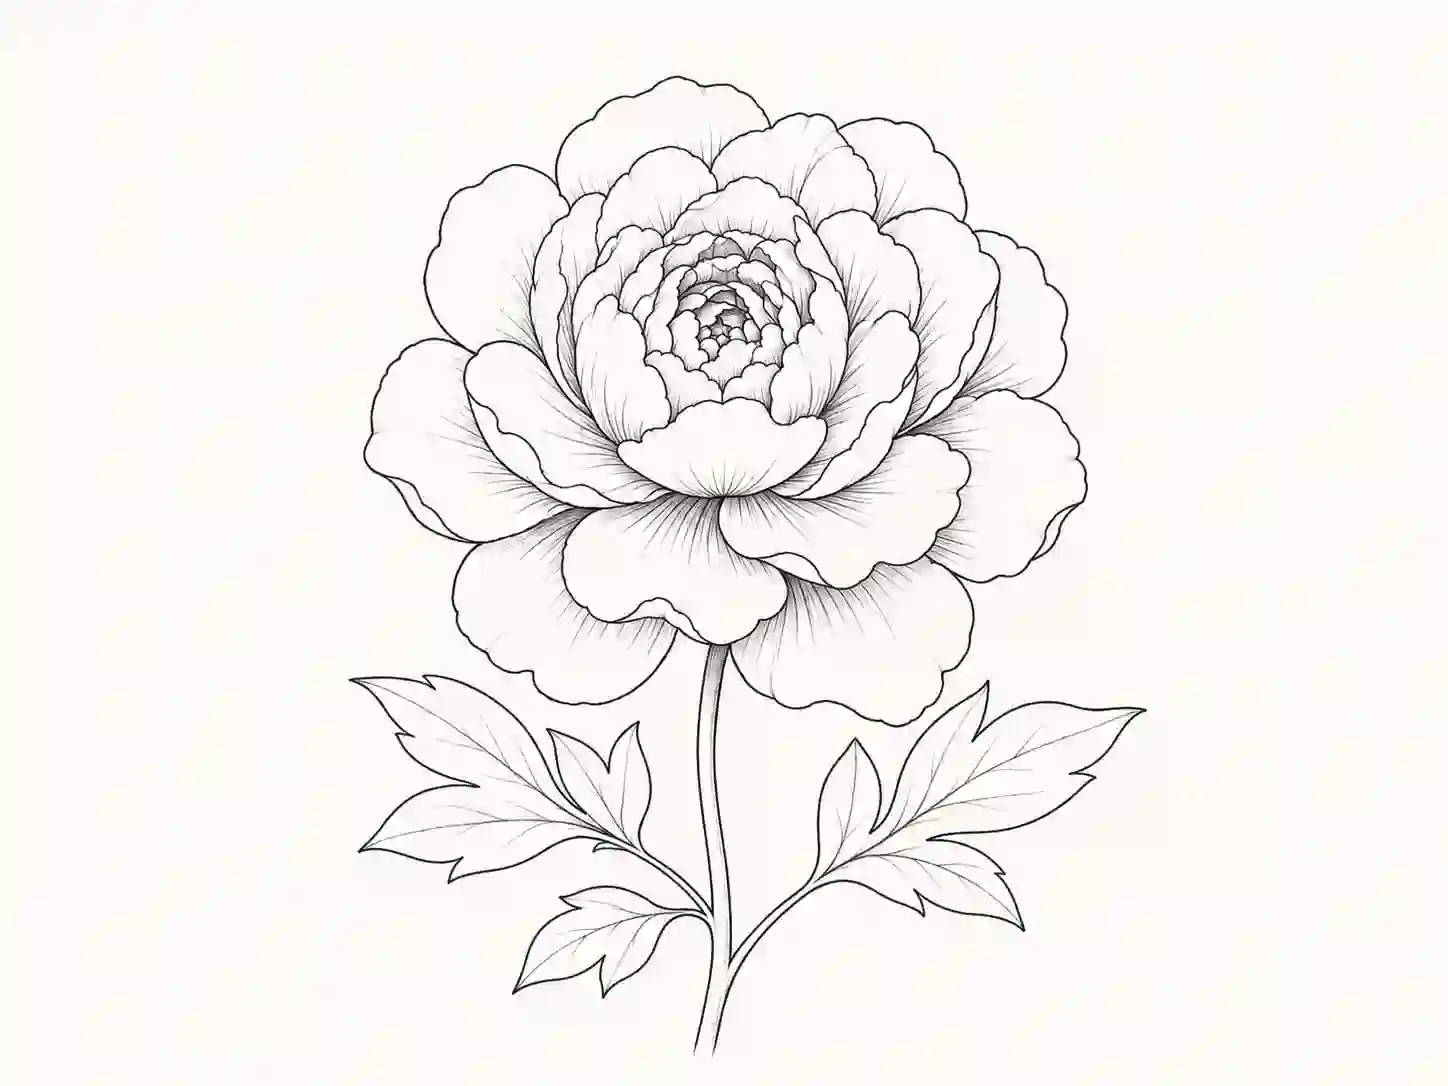
A peony is made from many overlapping petals, which can make it look difficult to sketch at first. The easiest way to create a peony drawing is not to draw every petal separately from the beginning. Instead, start with the compact centre and gradually build larger layers around it.
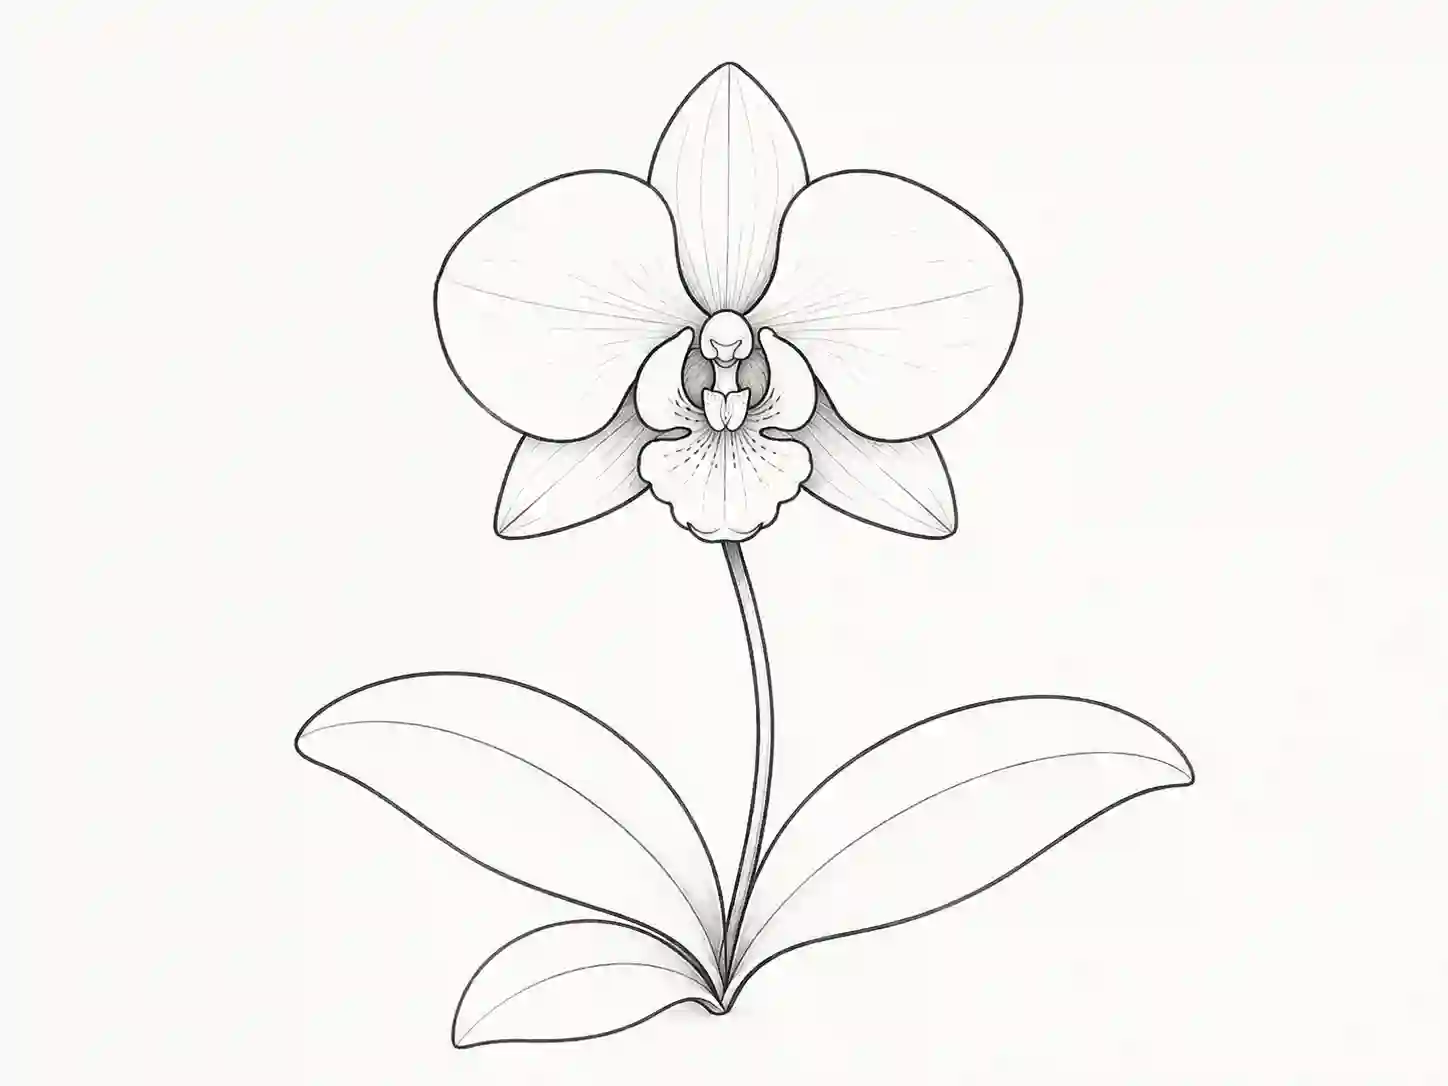
An orchid drawing can look complicated at first because its petals have unusual curves and the centre has more detail than many common flowers. However, drawing becomes much easier when you build it gradually from a few simple shapes.
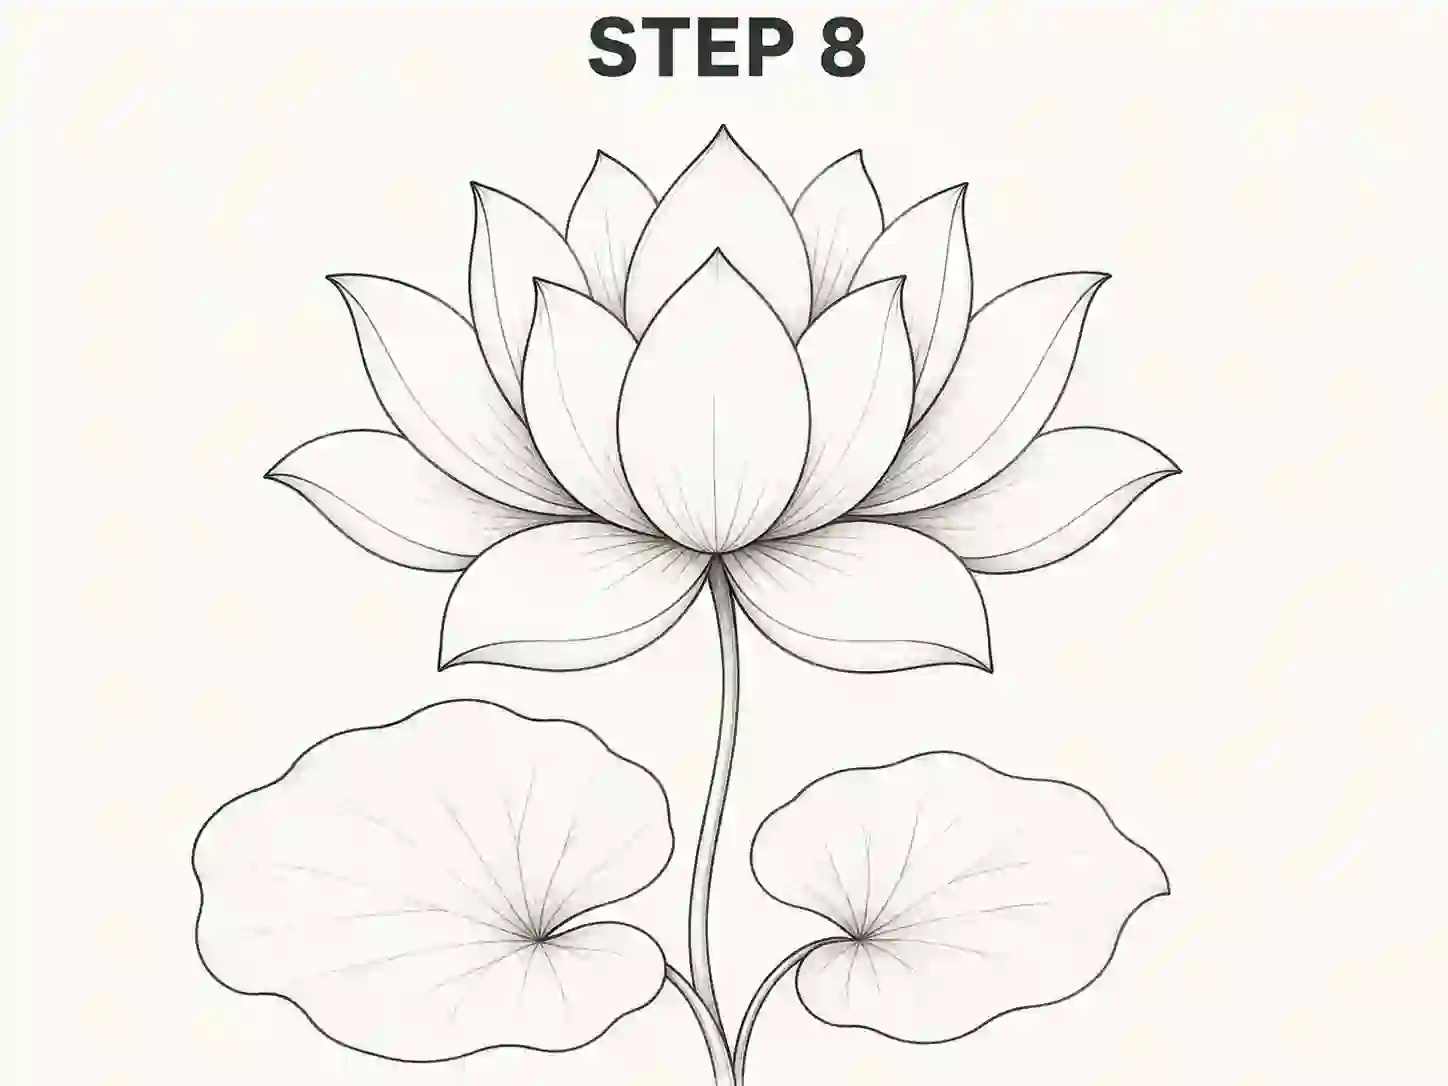
A lotus flower drawing is one of the most peaceful and elegant flower sketches for beginners. The petals are layered, symmetrical, and easy to build one step at a time, which makes this tutorial ideal for children, students, and anyone learning flower art at home.
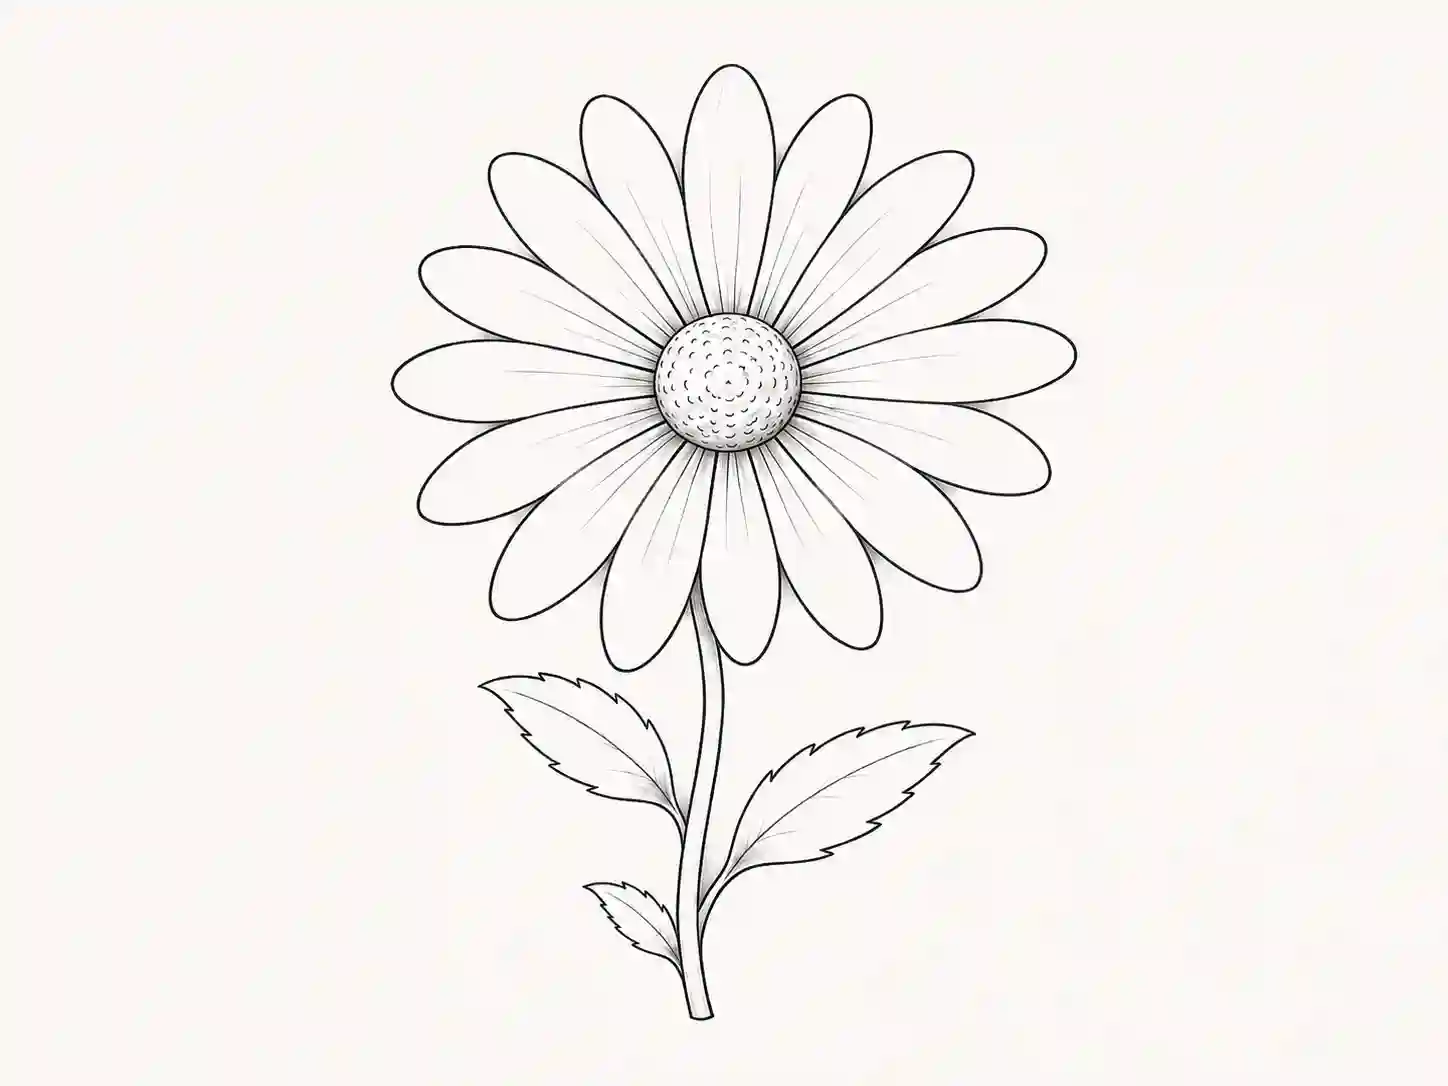
A daisy drawing is a great flower project for beginners because its basic structure is easy to understand: a round centre surrounded by long petals. Once you learn how to space those petals and vary their shapes slightly, you can turn a very simple sketch into a natural-looking flower.
Begin with a small circle or oval for the center. Add a few large petals around it, then draw a stem and simple leaves. Keep the first lines light so you can adjust the proportions.
Beginners can improve by breaking the subject into basic shapes and following one step at a time. Practicing the same flower more than once also helps develop line control and confidence.
You can begin with paper, a graphite pencil, an eraser, and a sharpener. Colored pencils or markers can be added after the outline is complete.
Vary the size and direction of the petals, allow a few shapes to overlap, and avoid making every side perfectly symmetrical. A slightly curved stem can also make the drawing feel less rigid.
Tracing is useful for understanding line direction and shape. After tracing, recreate the same flower on a blank area without following the outline. This helps turn tracing into active practice.
Yes. Worksheets can provide a completed reference, tracing practice, individual shape exercises, and blank space for independent drawing. Choose a worksheet with fewer steps when you are just starting.
Drawing flowers for beginners can feel difficult at first, but formal classes are not always necessary. Follow the visual steps, use the worksheets for guided practice, and repeat each drawing until the shapes feel familiar.
Choose a tutorial, prepare your pencil and paper to begin with the first light shape. Do not worry about making the drawing perfect.
Follow the steps, make adjustments as you go, and use the downloadable worksheets for extra practice. With each new sketch, petals, stems, leaves, and floral shapes will become easier to understand and draw.

AlexArts
AlexArts creates beginner-friendly flower drawing tutorials and printable practice worksheets designed to make drawing feel clear, creative, and approachable.